Installing the Internal v2 OneRNG
The internal version of the OneRNG is designed to be plugged directly into a motherboard inside a server.
WARNING: danger of incorrect alignment
If you connect the OneRNG incorrectly to your motherboard, you can easily cause damage to all components by mixing power lines with data lines. Please be very careful.
Motherboard USB connectors
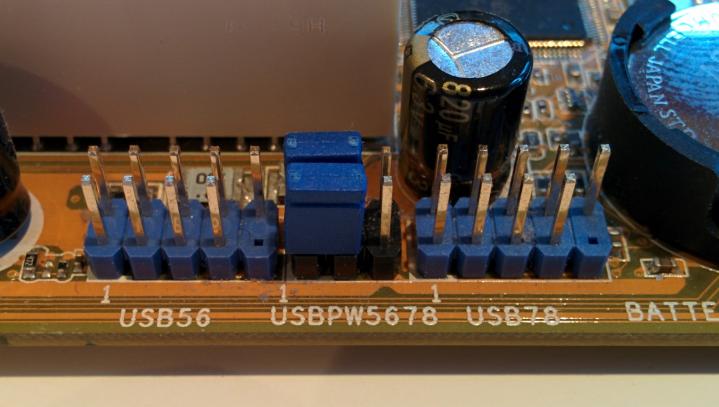
Most motherboard onboard USB connectors are two rows of 4 or 5 pins - here's an example with two such connectors providing 4 internal USB channels - this particular one is an "Intel Standard layout", with the blocks labelled "USB56" and "USB67".The Internal OneRNG is designed to plug into one row of 4 or 5 pins without blocking access to the other row - so you can use that for something else.
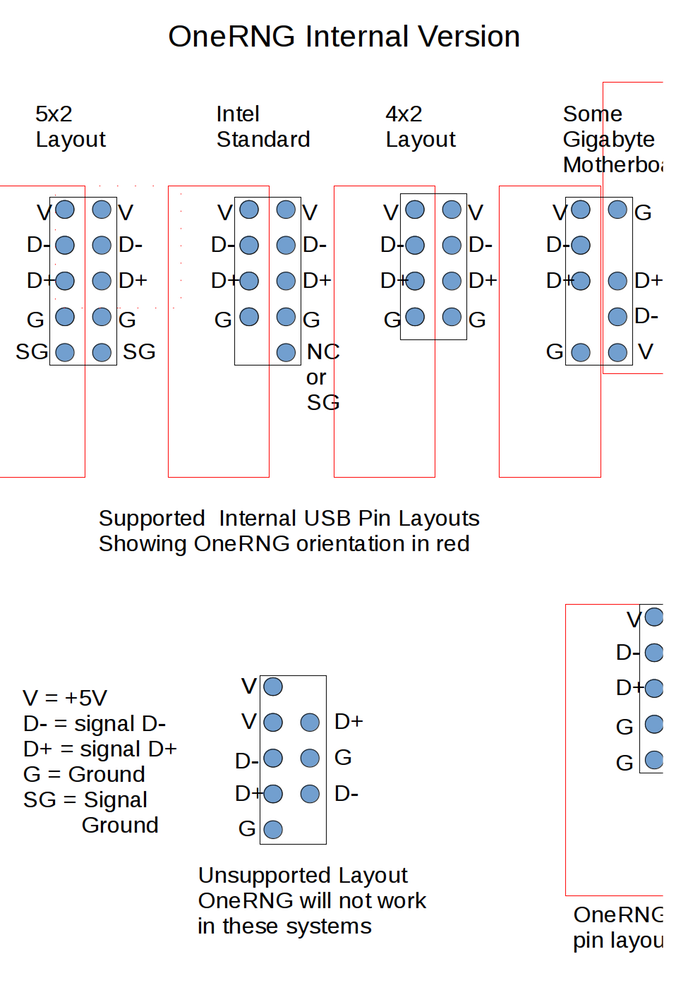
Not all motherboards provide the same USB pin layouts. Here's a summary diagram of what the OneRNG can support; the red boxes (not to scale) show how the OneRNG would sit in various types of motherboard connectors. There is only one layout we've found so far that wouldn't be compatible - you should check your motherboard's documentation to make sure that the OneRNG will work for you.
Connection Orientation
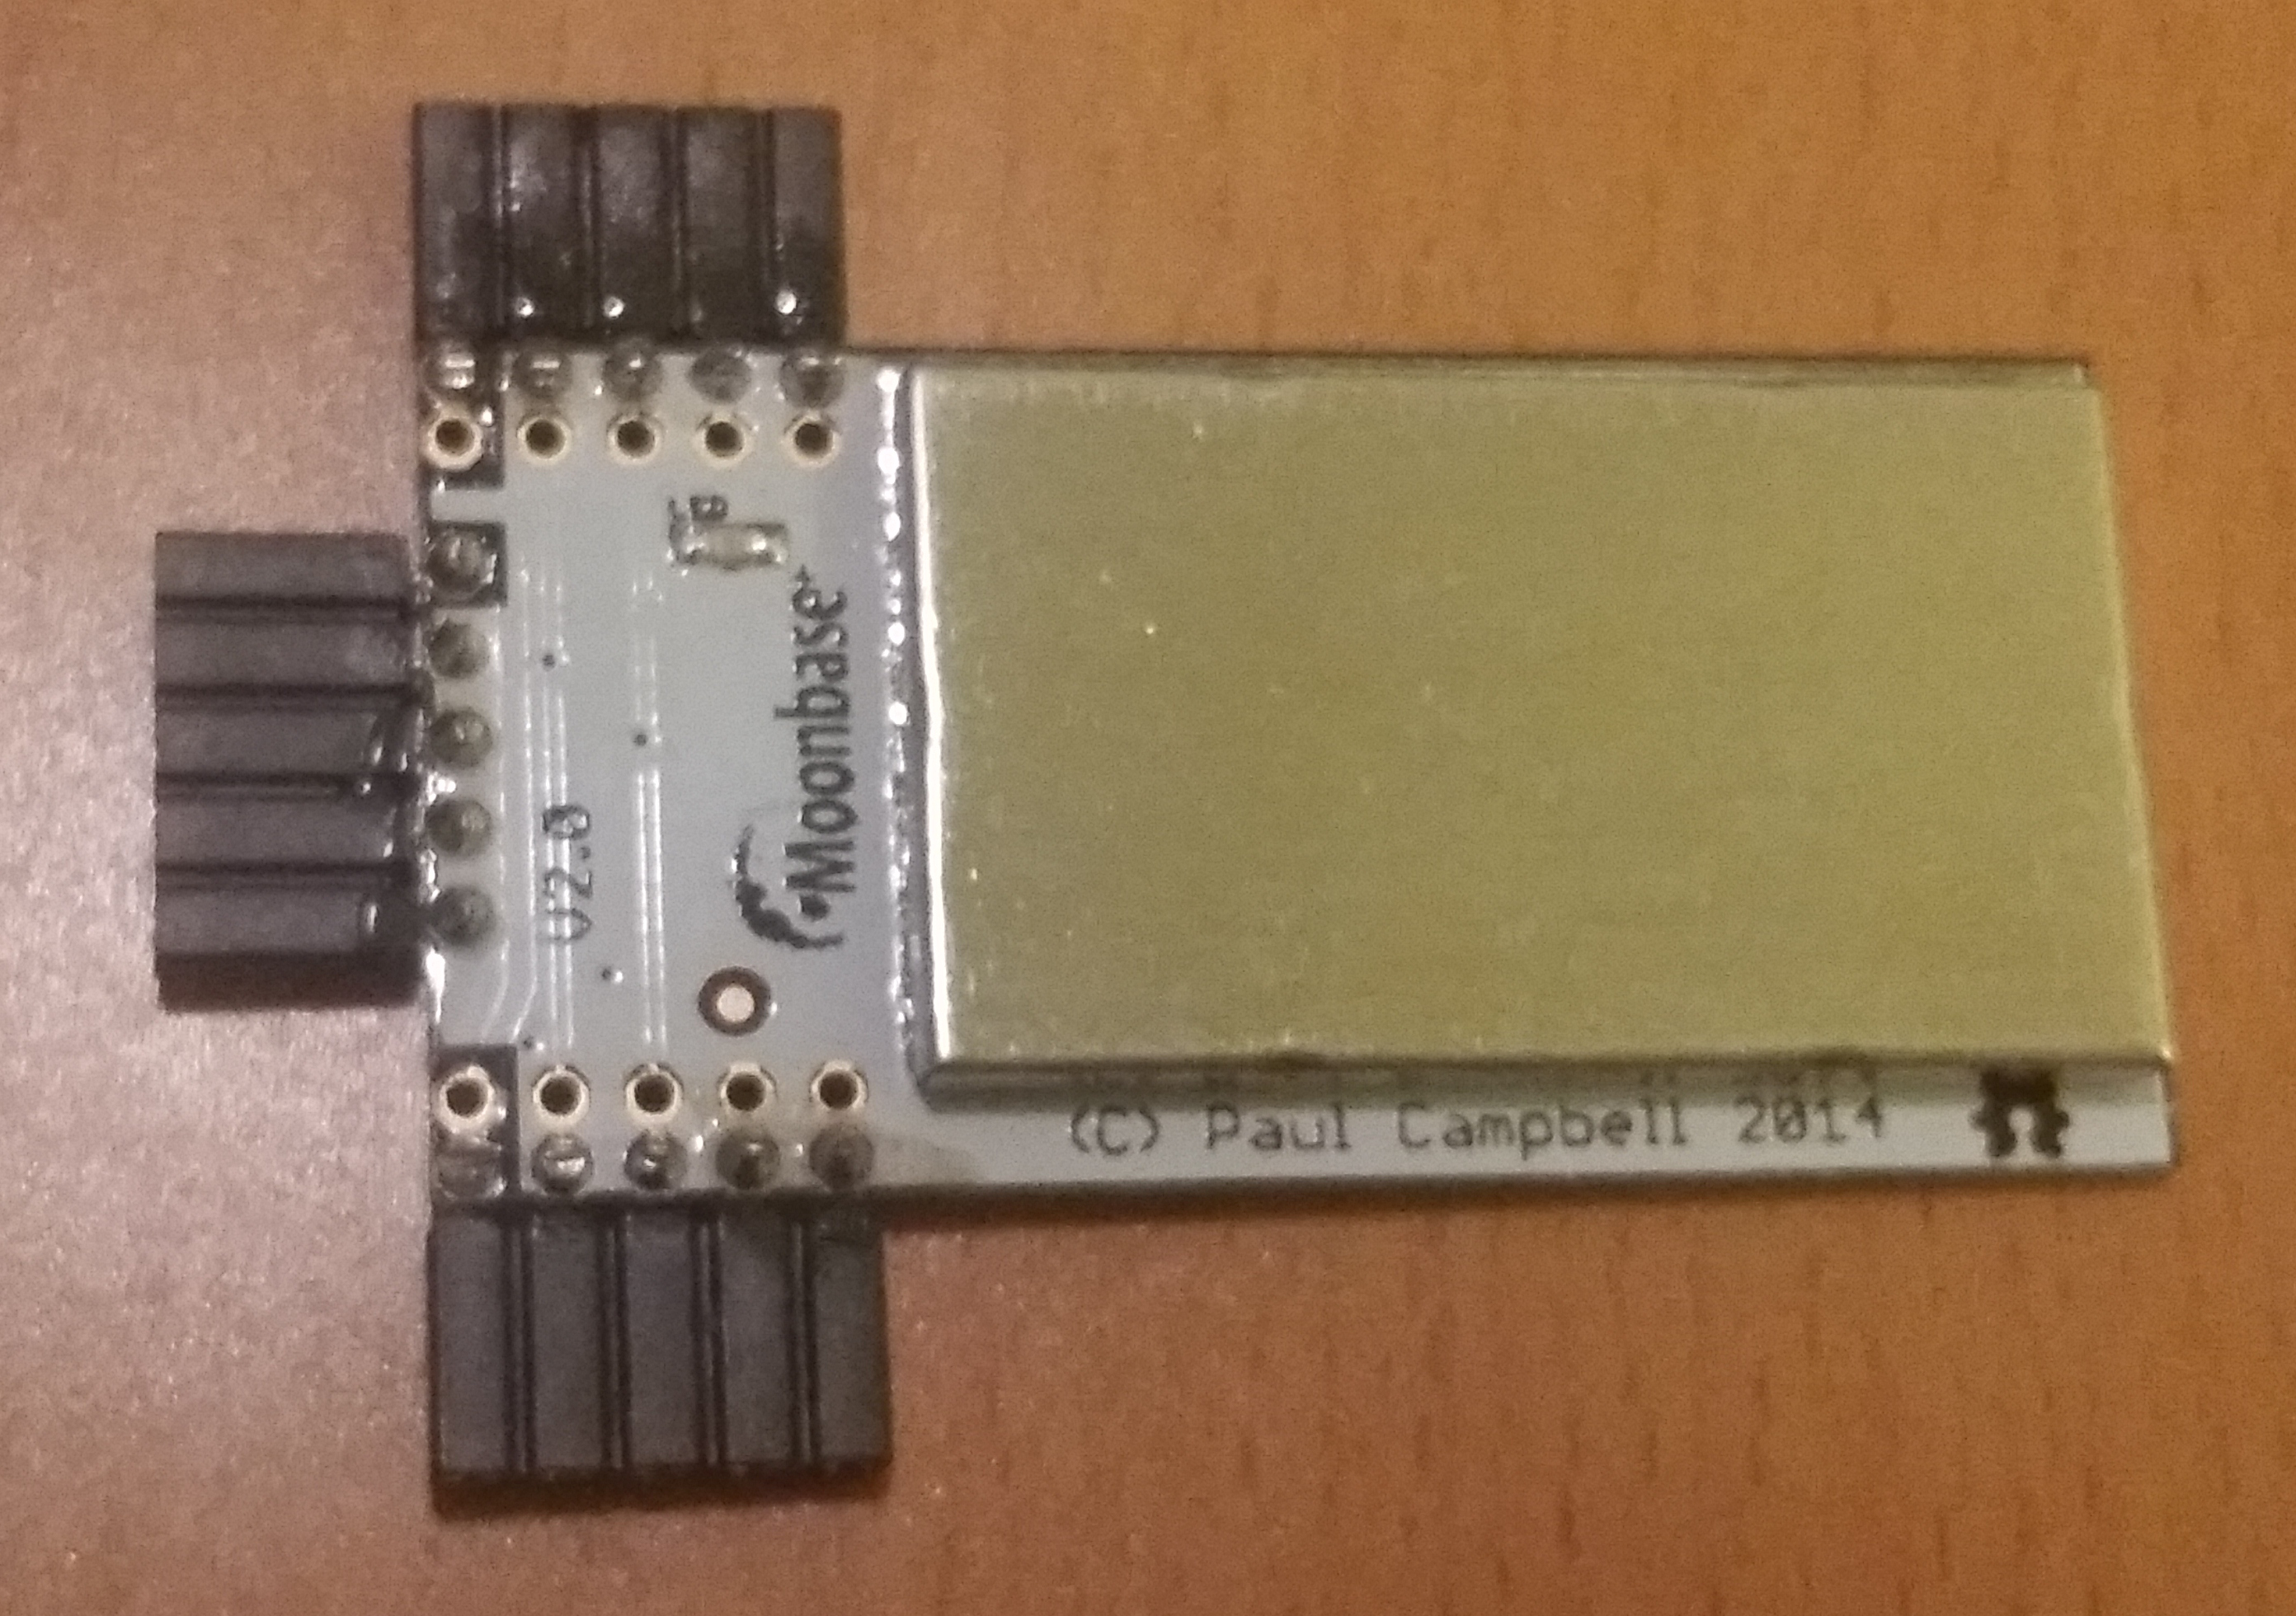
The OneRNG board might look a bit strange, as it has 3 connectors. This is to provide you with orientation options to allow the OneRNG to fit inside your system case properly. You should only connect one of them.We've tried to provide as many options as possible for you - different motherboards are laid out differently - other components or slots on the board may limit what orientations will work for you.
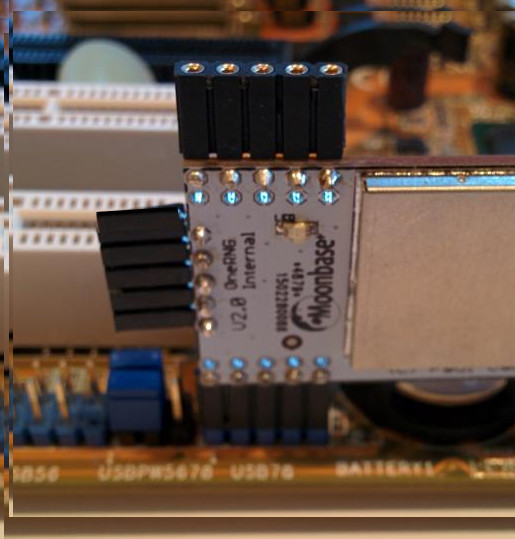
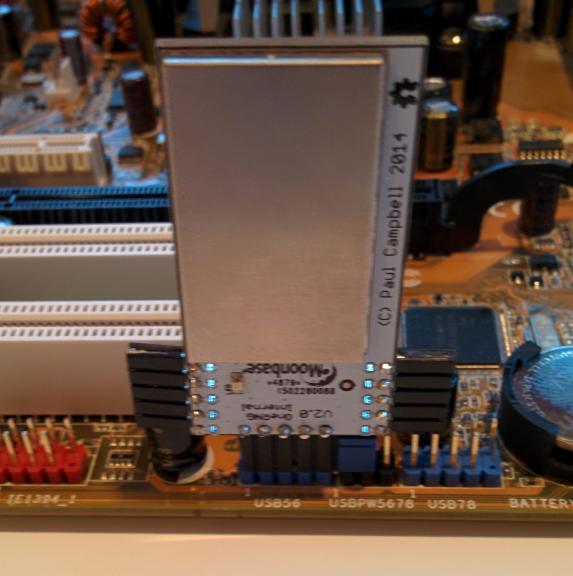
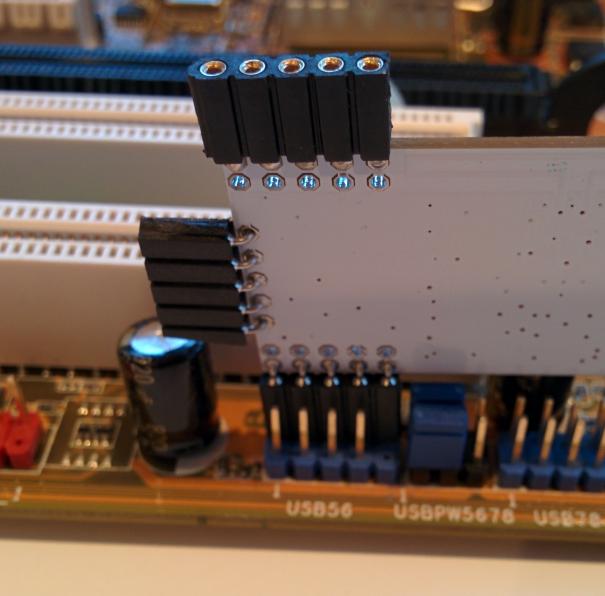
All three connectors are equivalent - but the board must be plugged in the correct way around or you will damage it - the V and D- are indicated with a black block on the upper side (not shown in these photos of prototypes) - they are shipped pointing outwards, this leaves you with 3 simple ways to install the board into a system :-
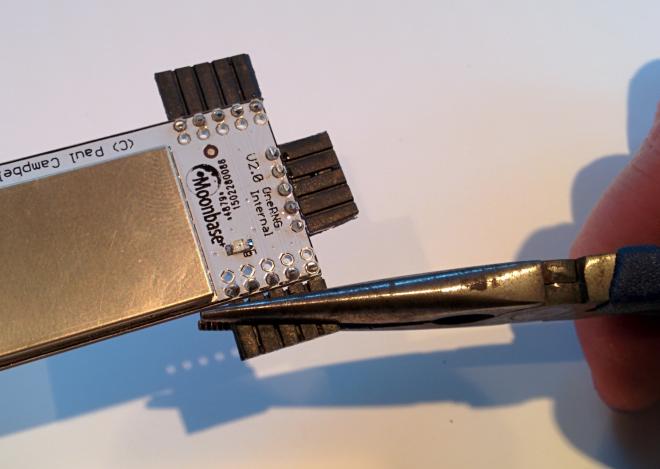
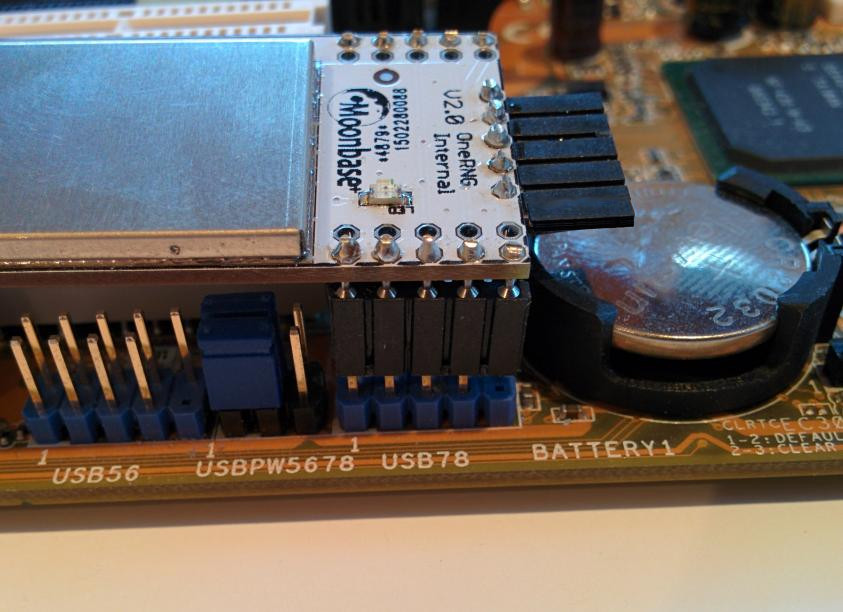
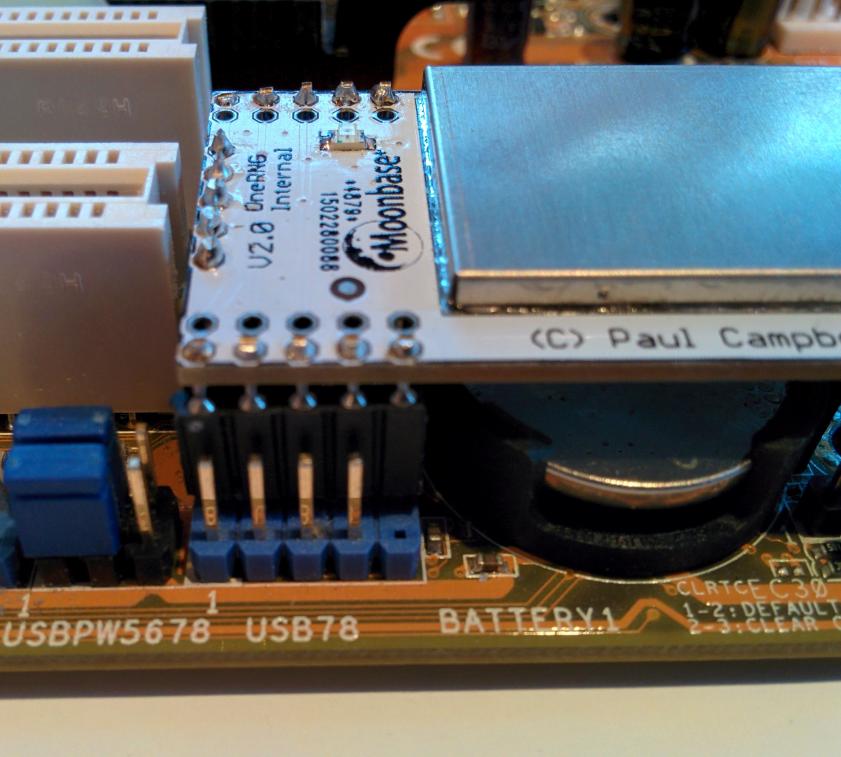
You can also carefully bend the connectors down 90 degrees with a pair of pliers so that the board can be mounted horizontally - you can't realistically expect to be able to bend the pins back without them breaking, so if you choose to do this, choose wisely.
(note this last image is for demonstration only - the board shown above is in the USB socket backwards)
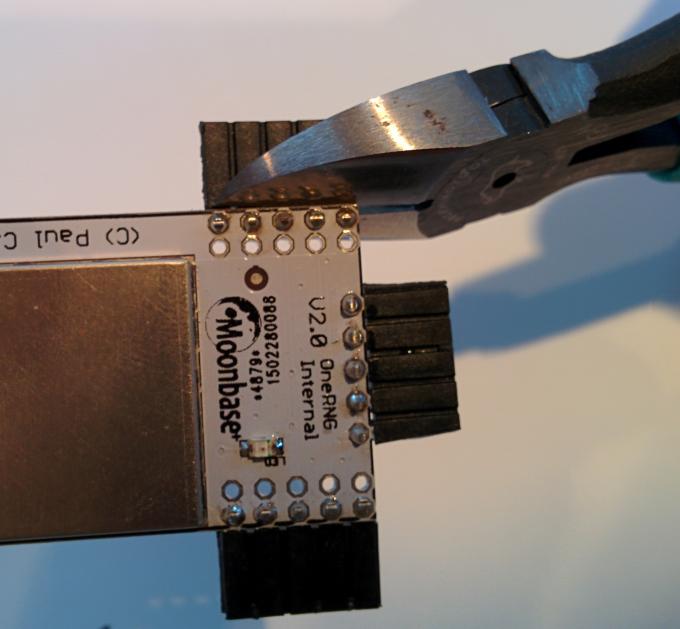
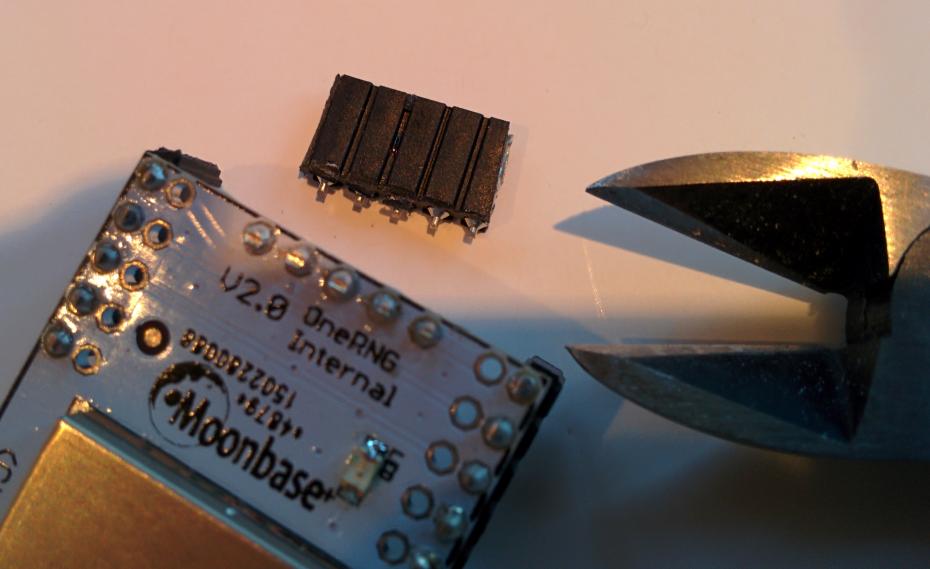
Finally if one of the unused connectors is in the way for mounting you can remove it with a pair of diagonal pliers/side cutters - again you can't easily undo this so be careful.
