Verifying and using your OneRNG
We are working to populate these pages as quickly as possible, so please bear with us!
Verify the Hardware
- First, you need to identify which variation of the OneRNG hardware you have
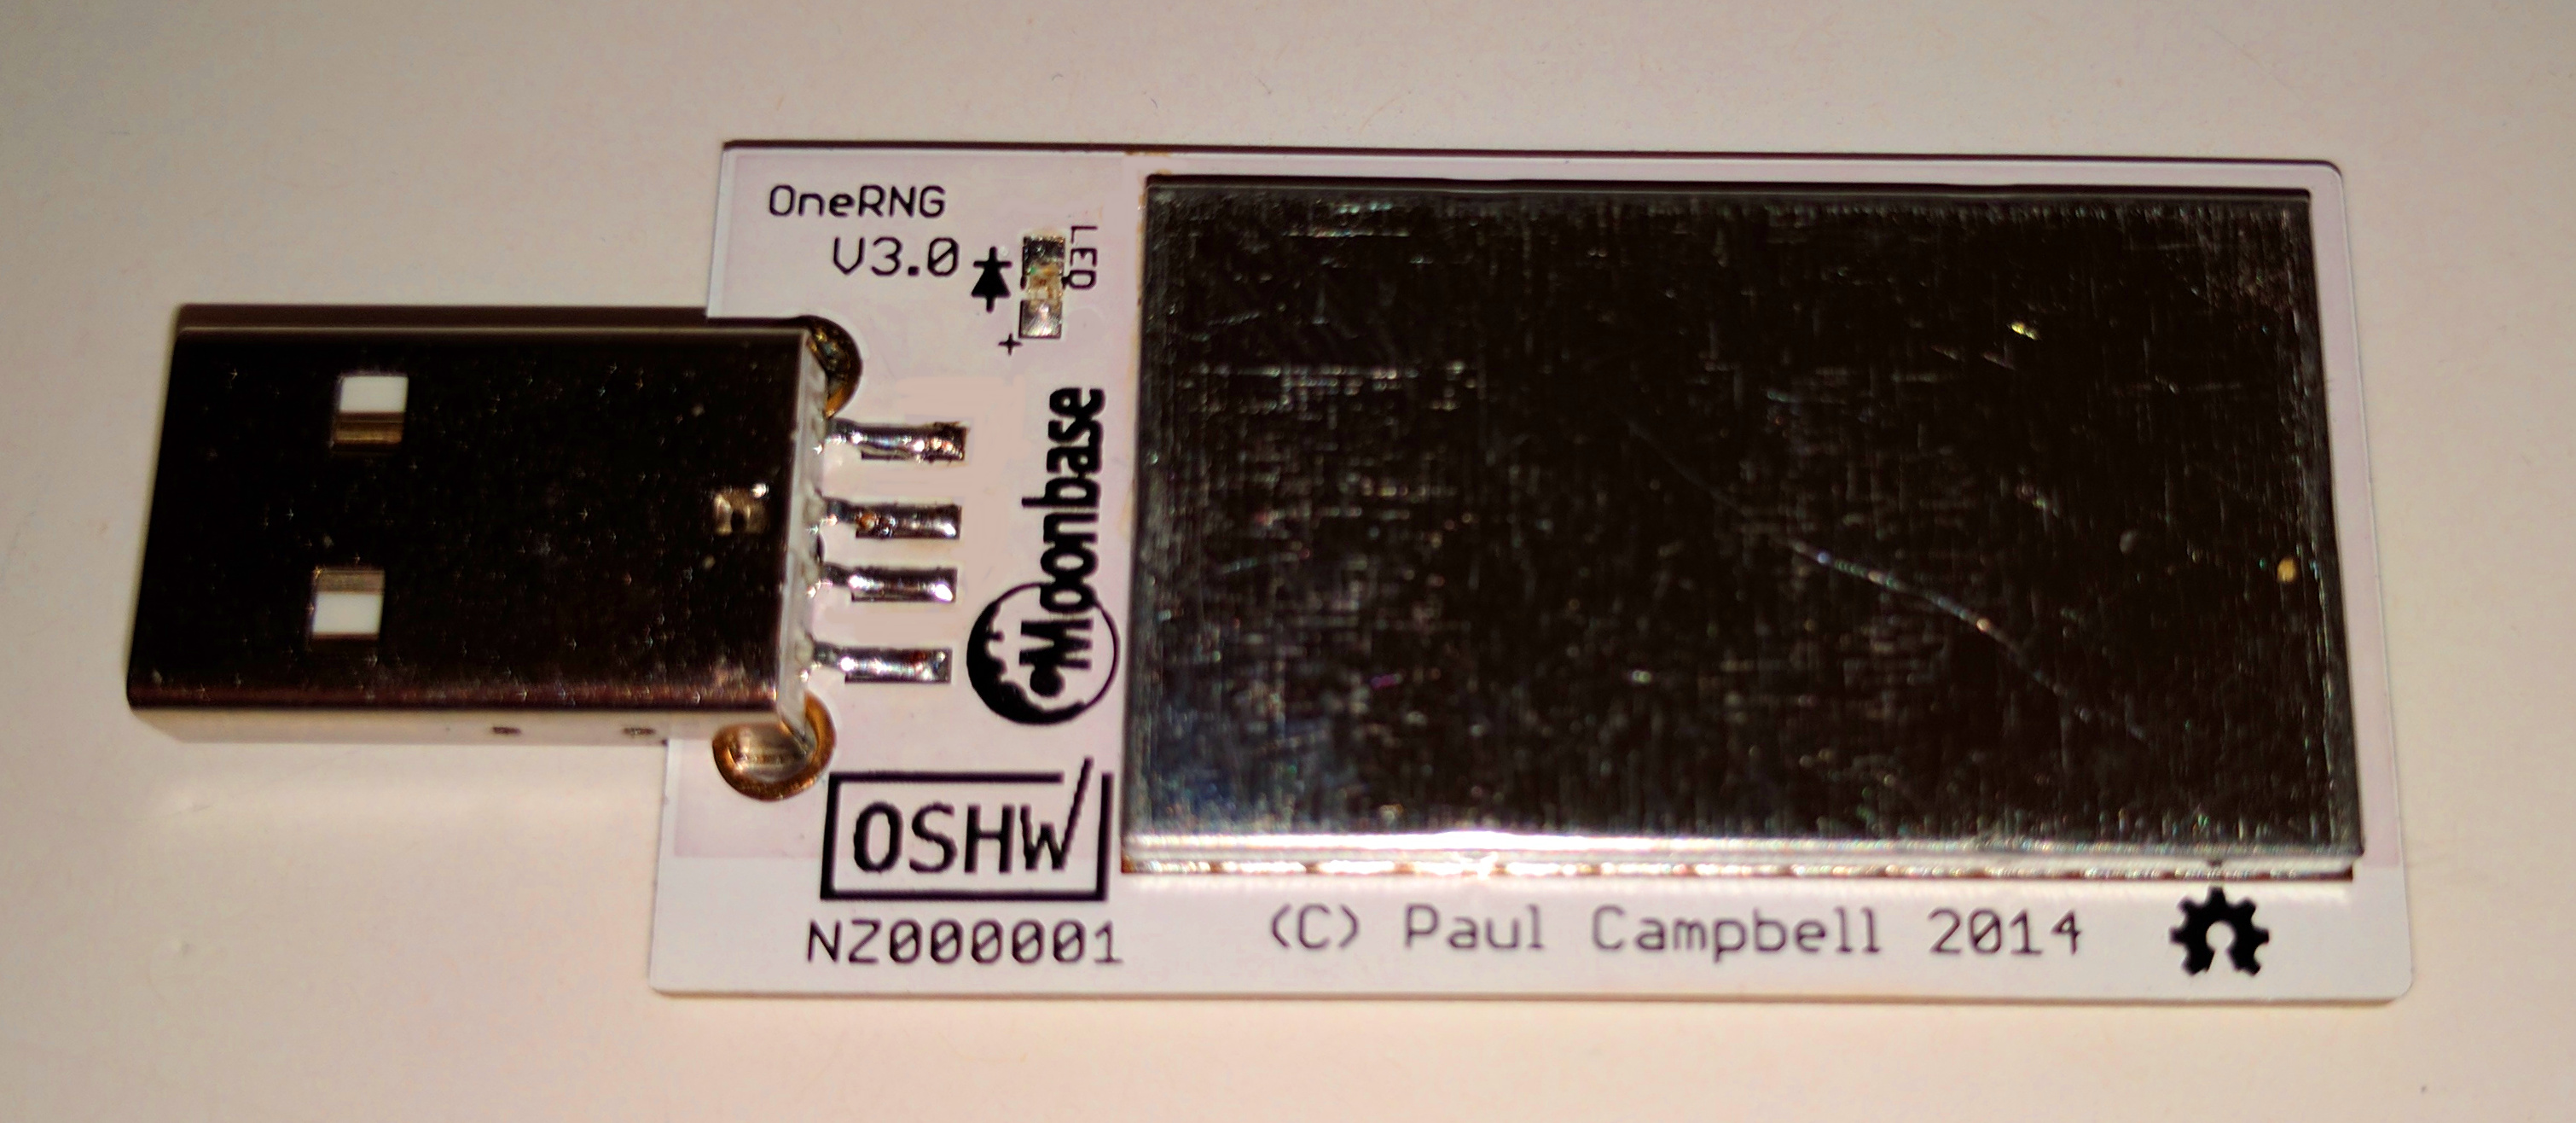
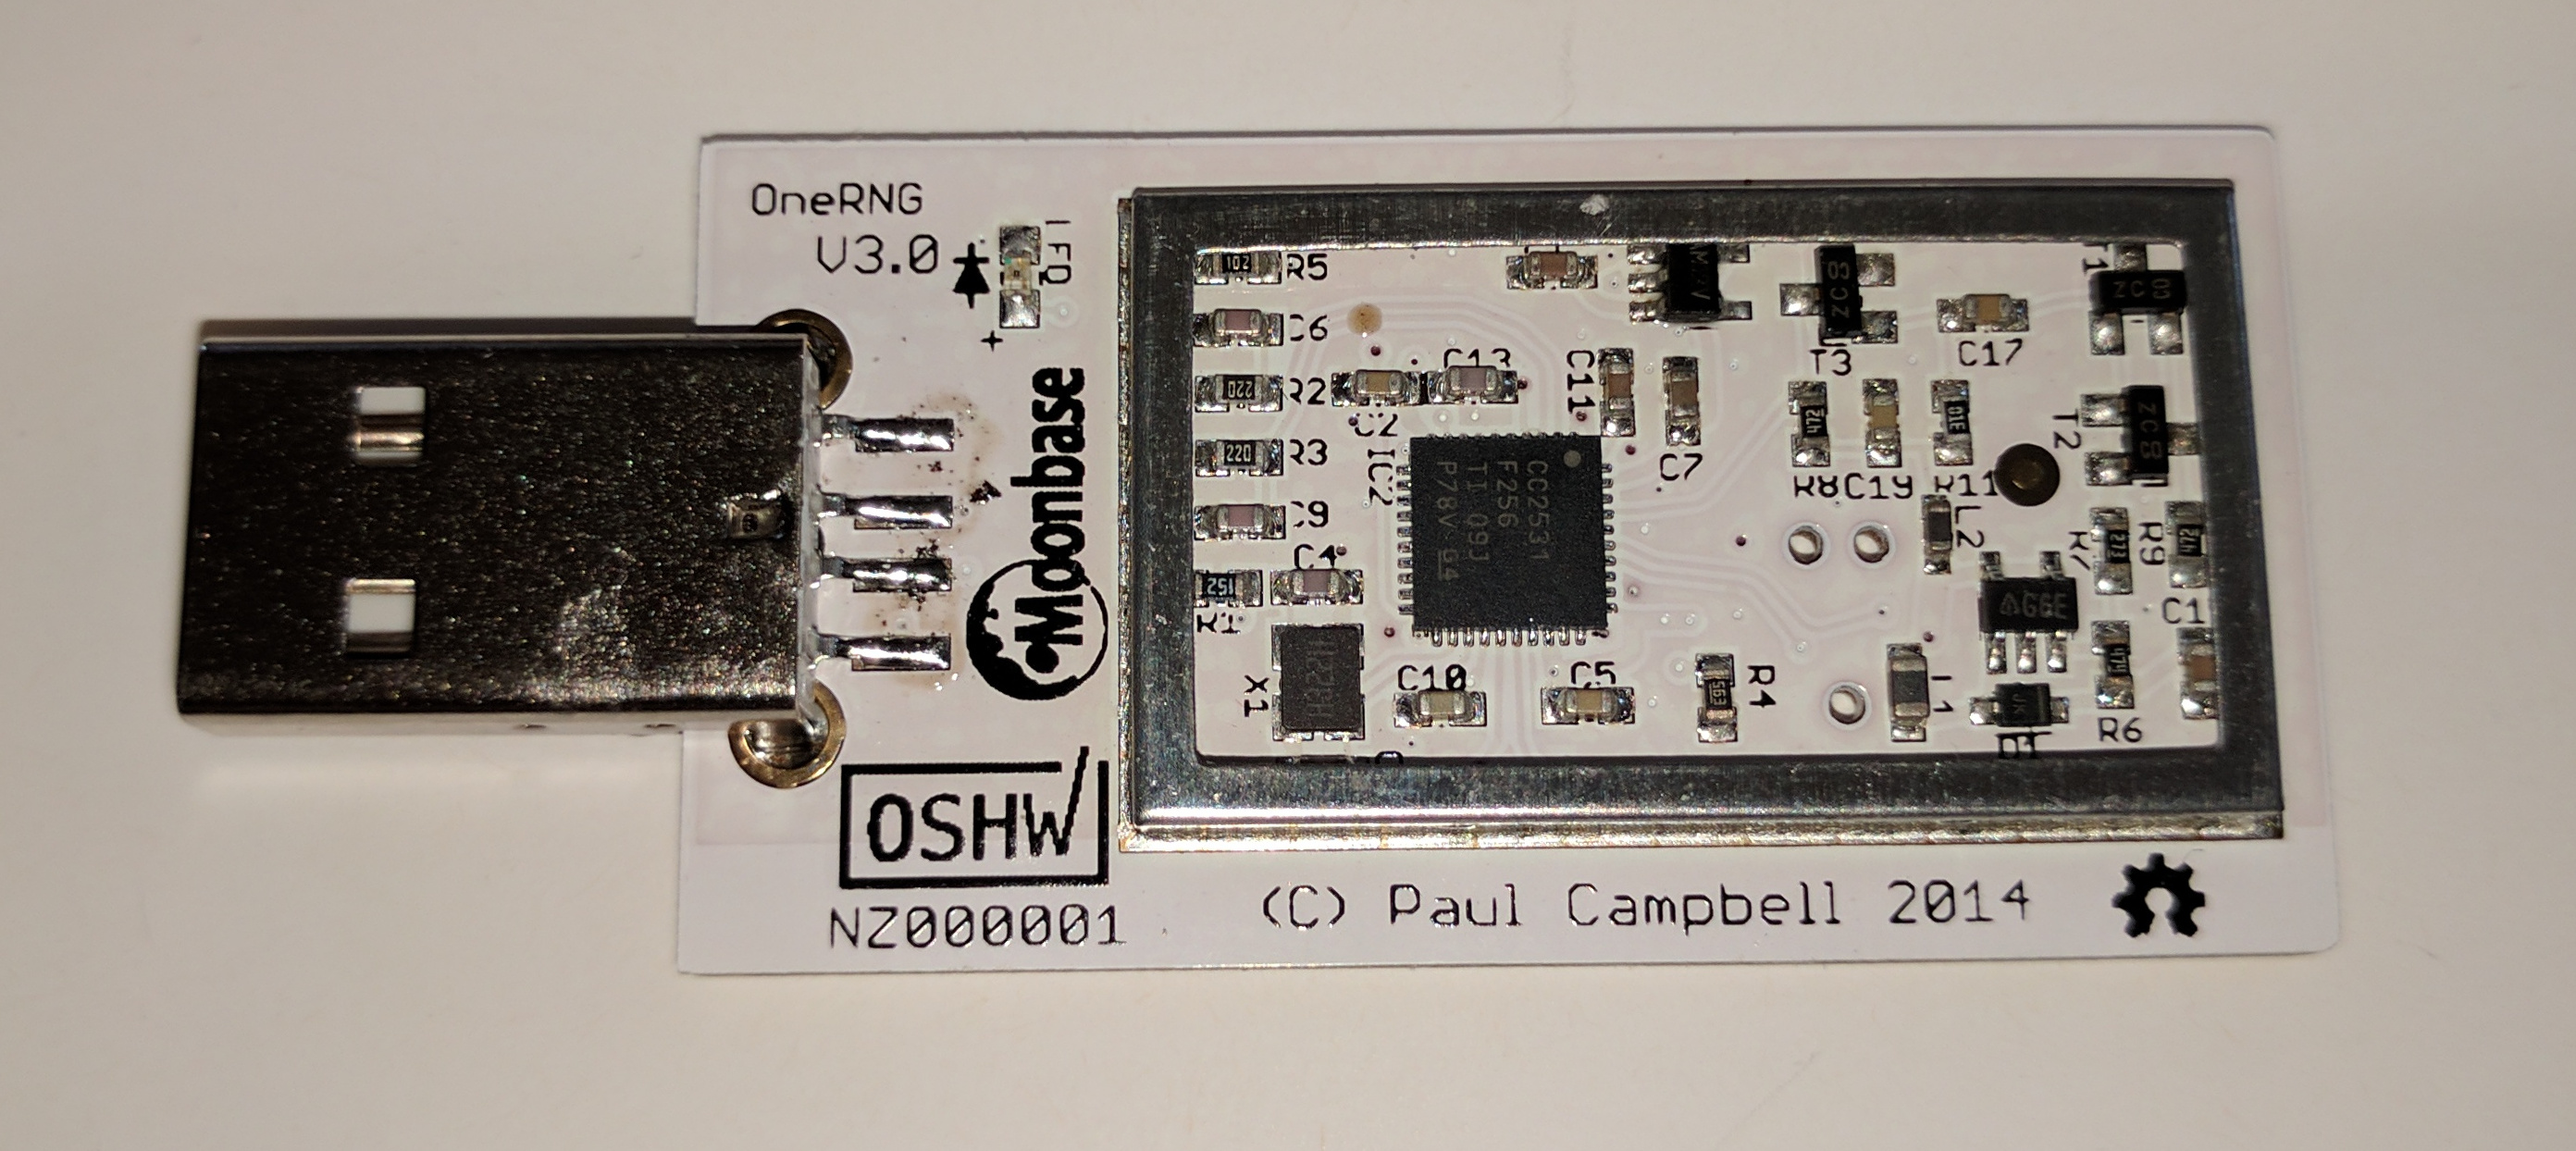
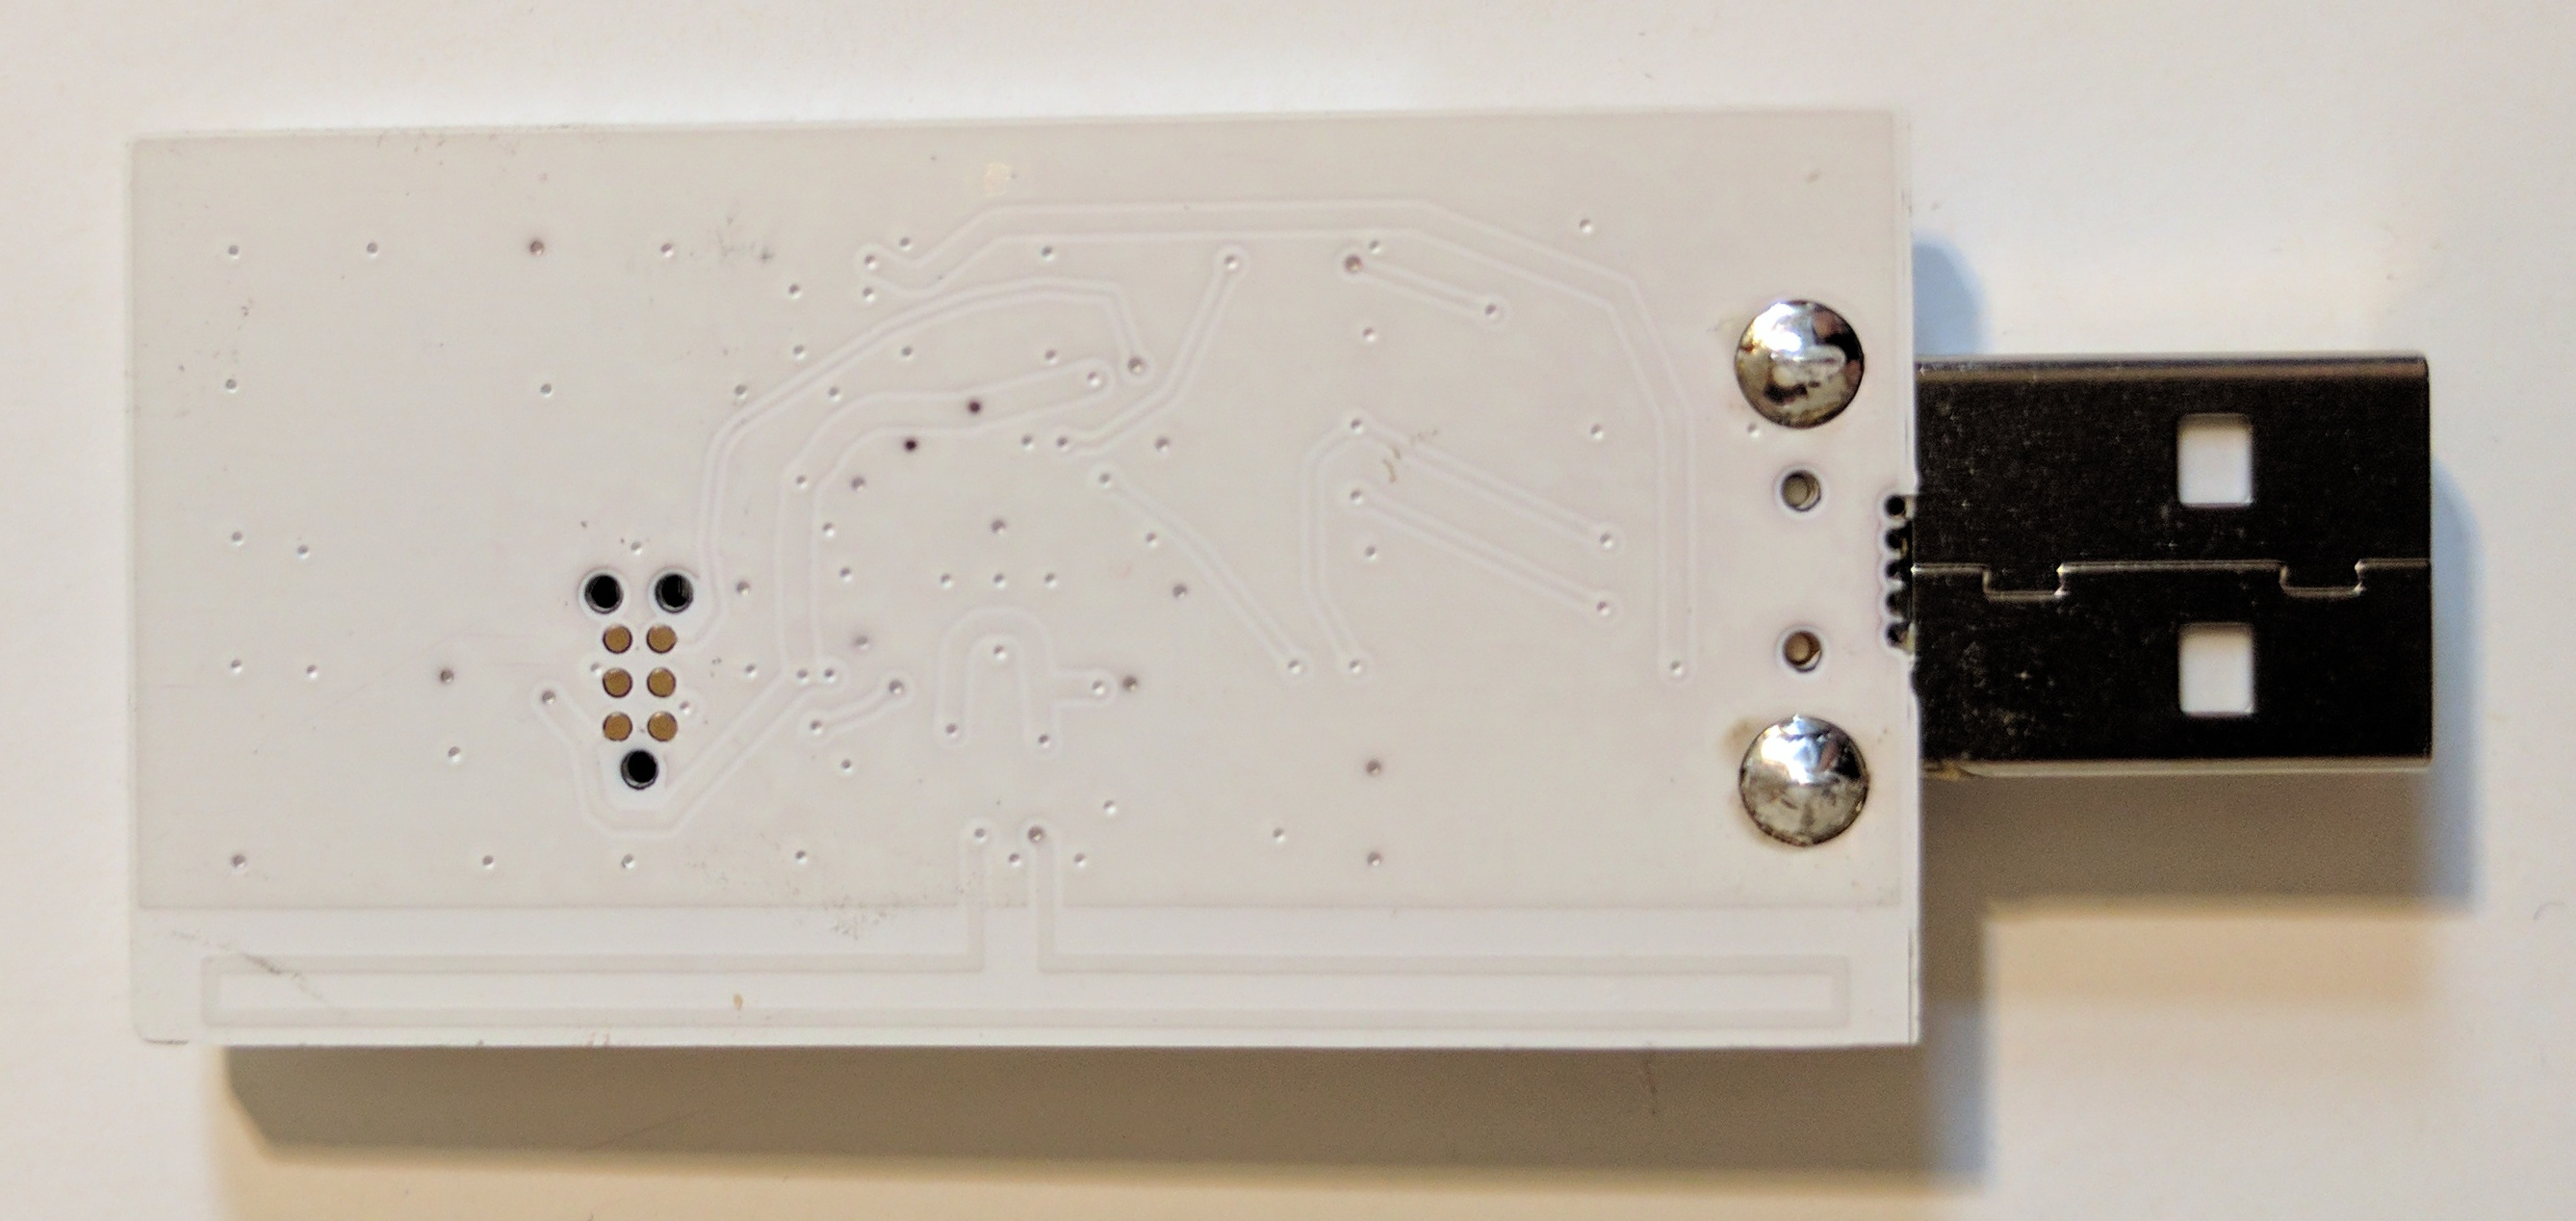
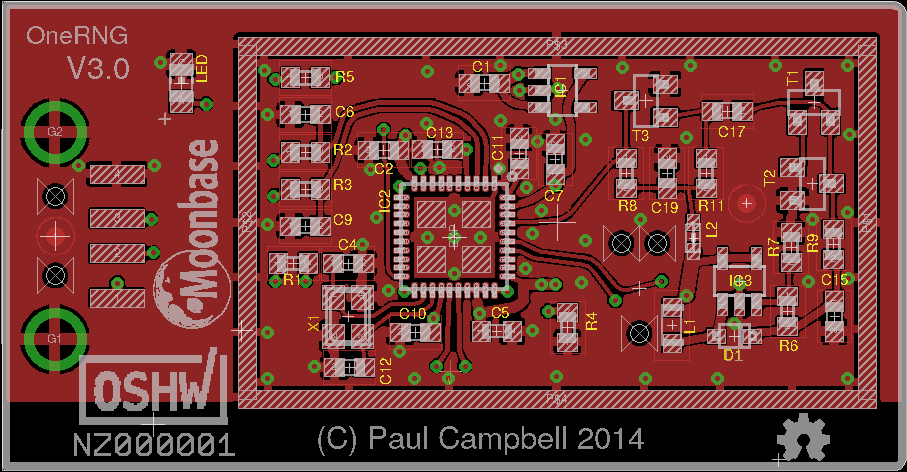
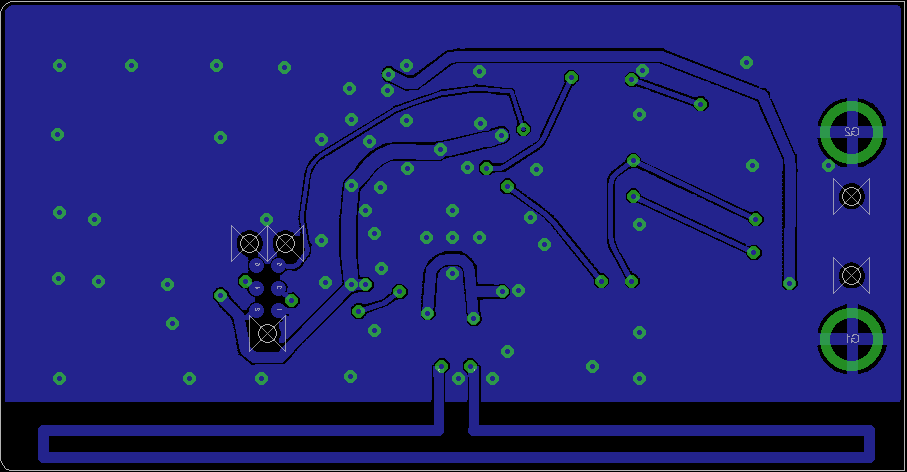
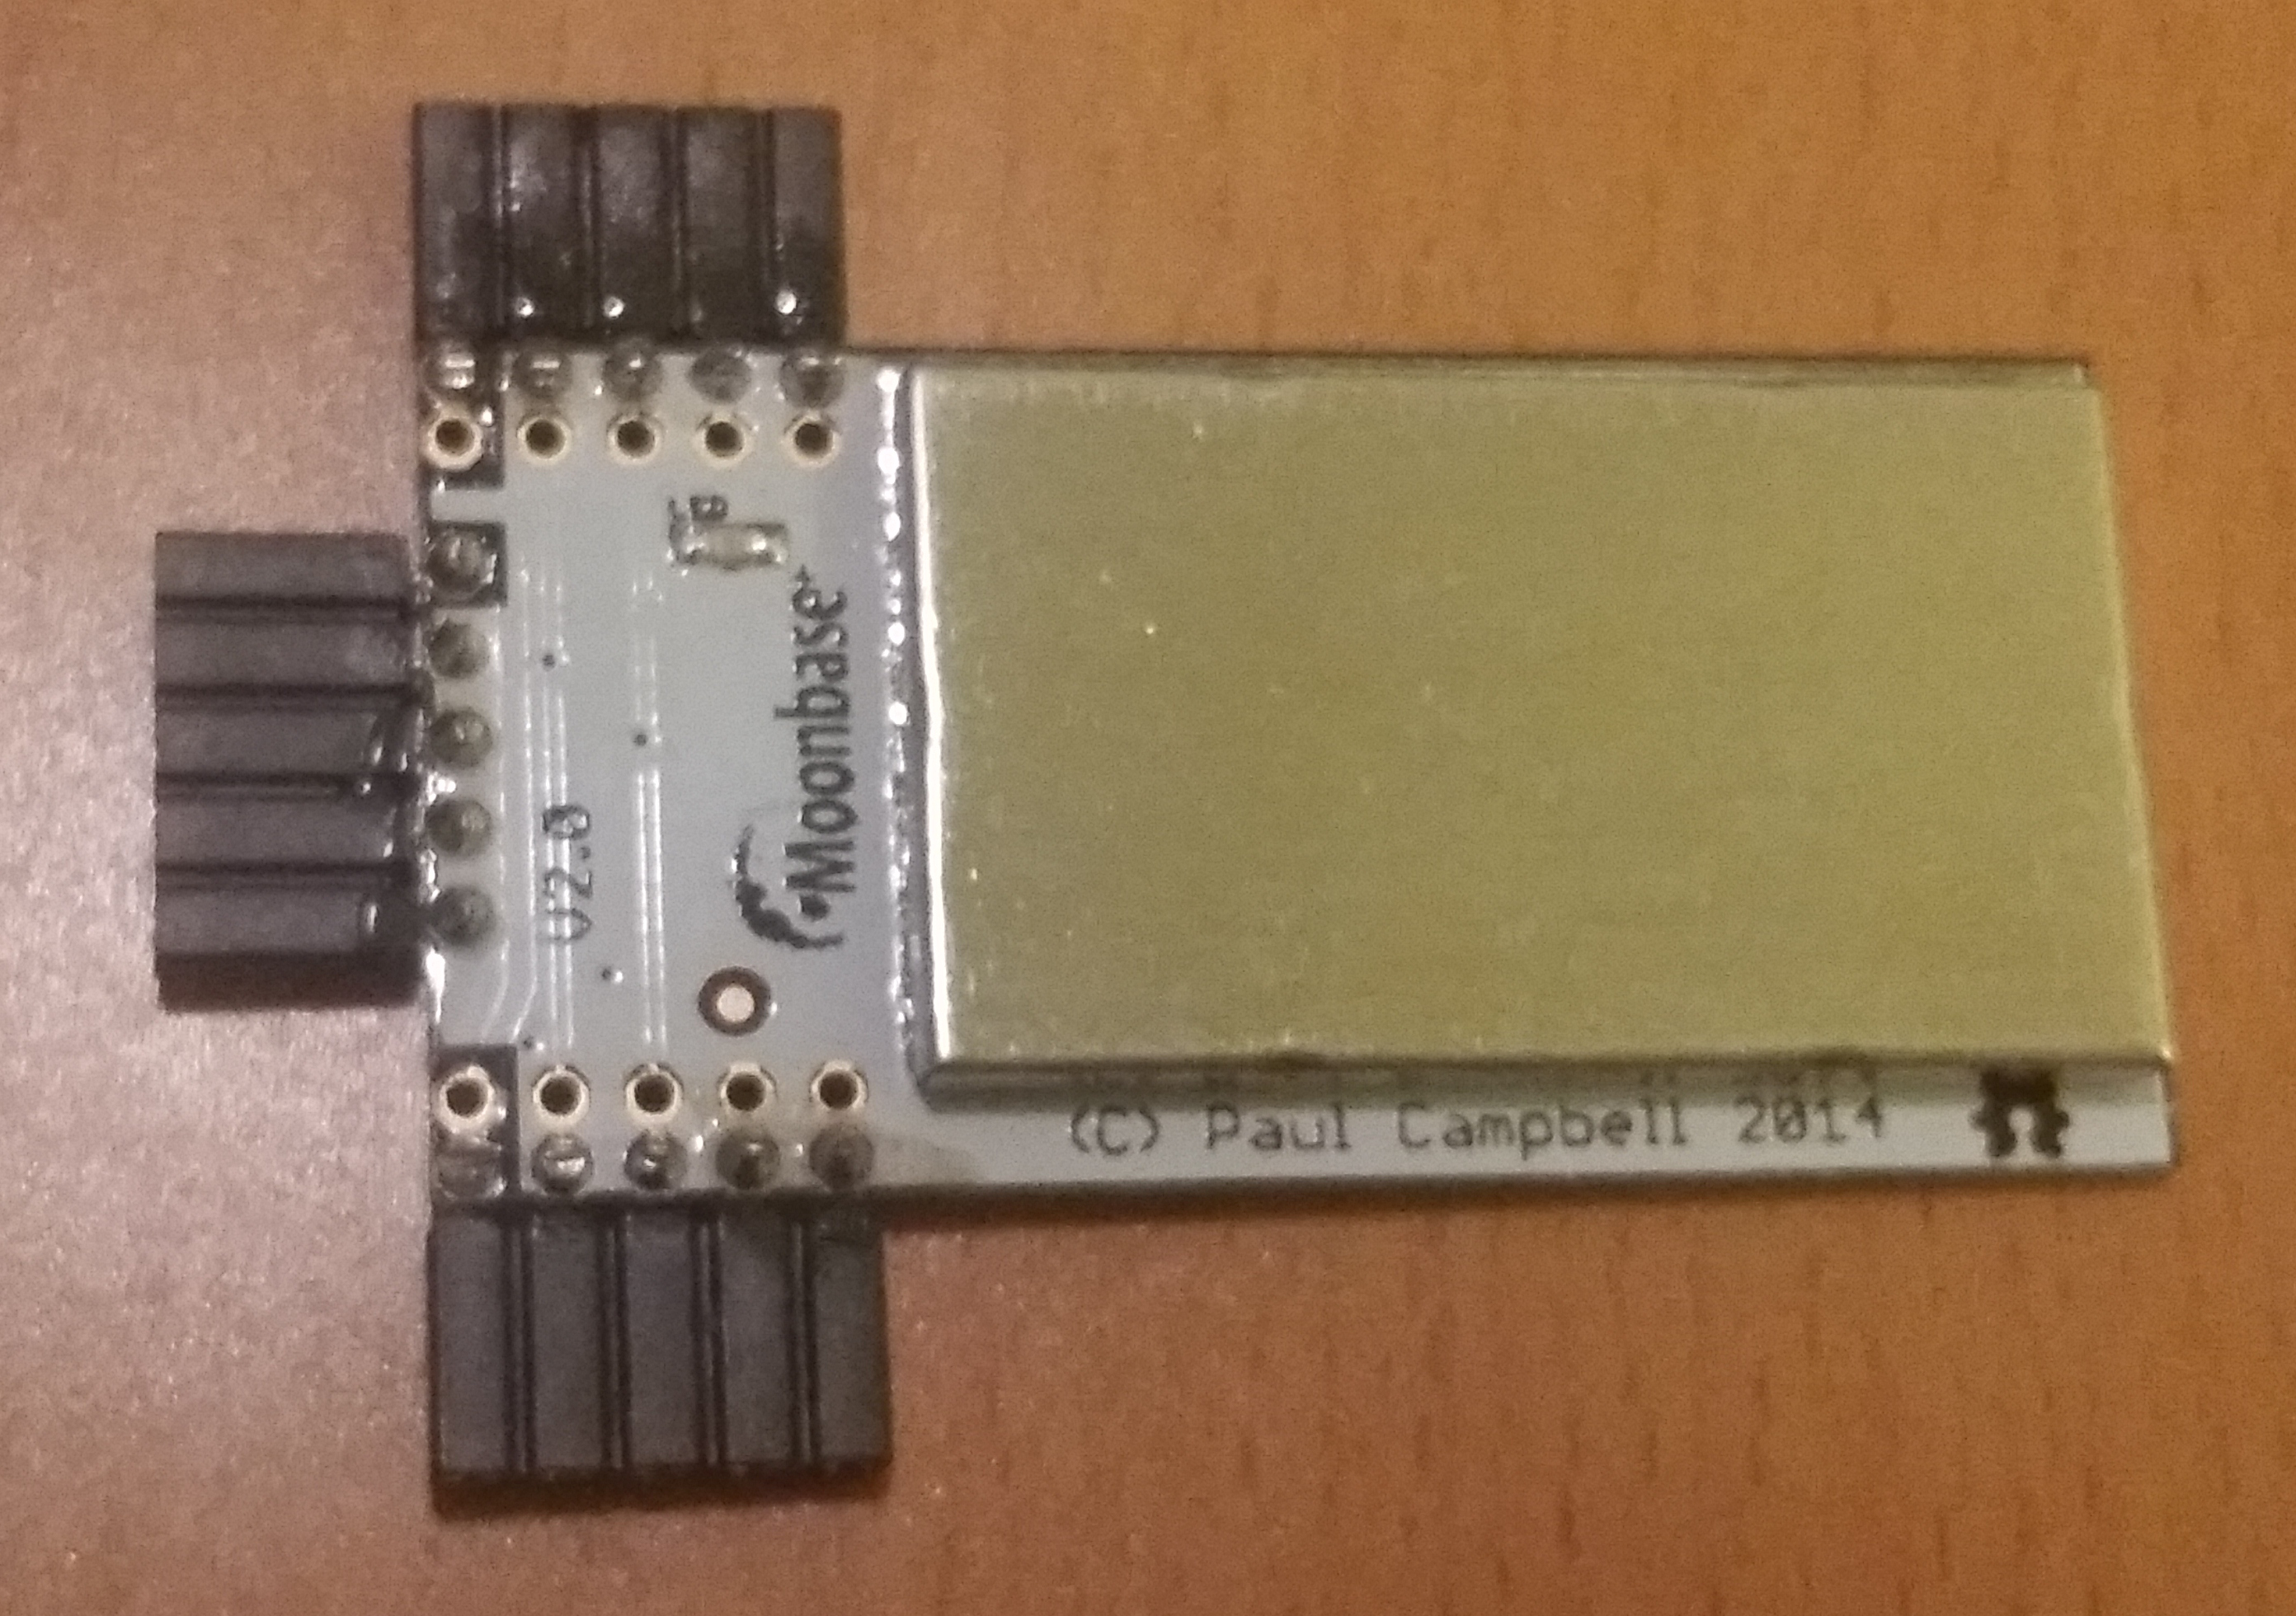
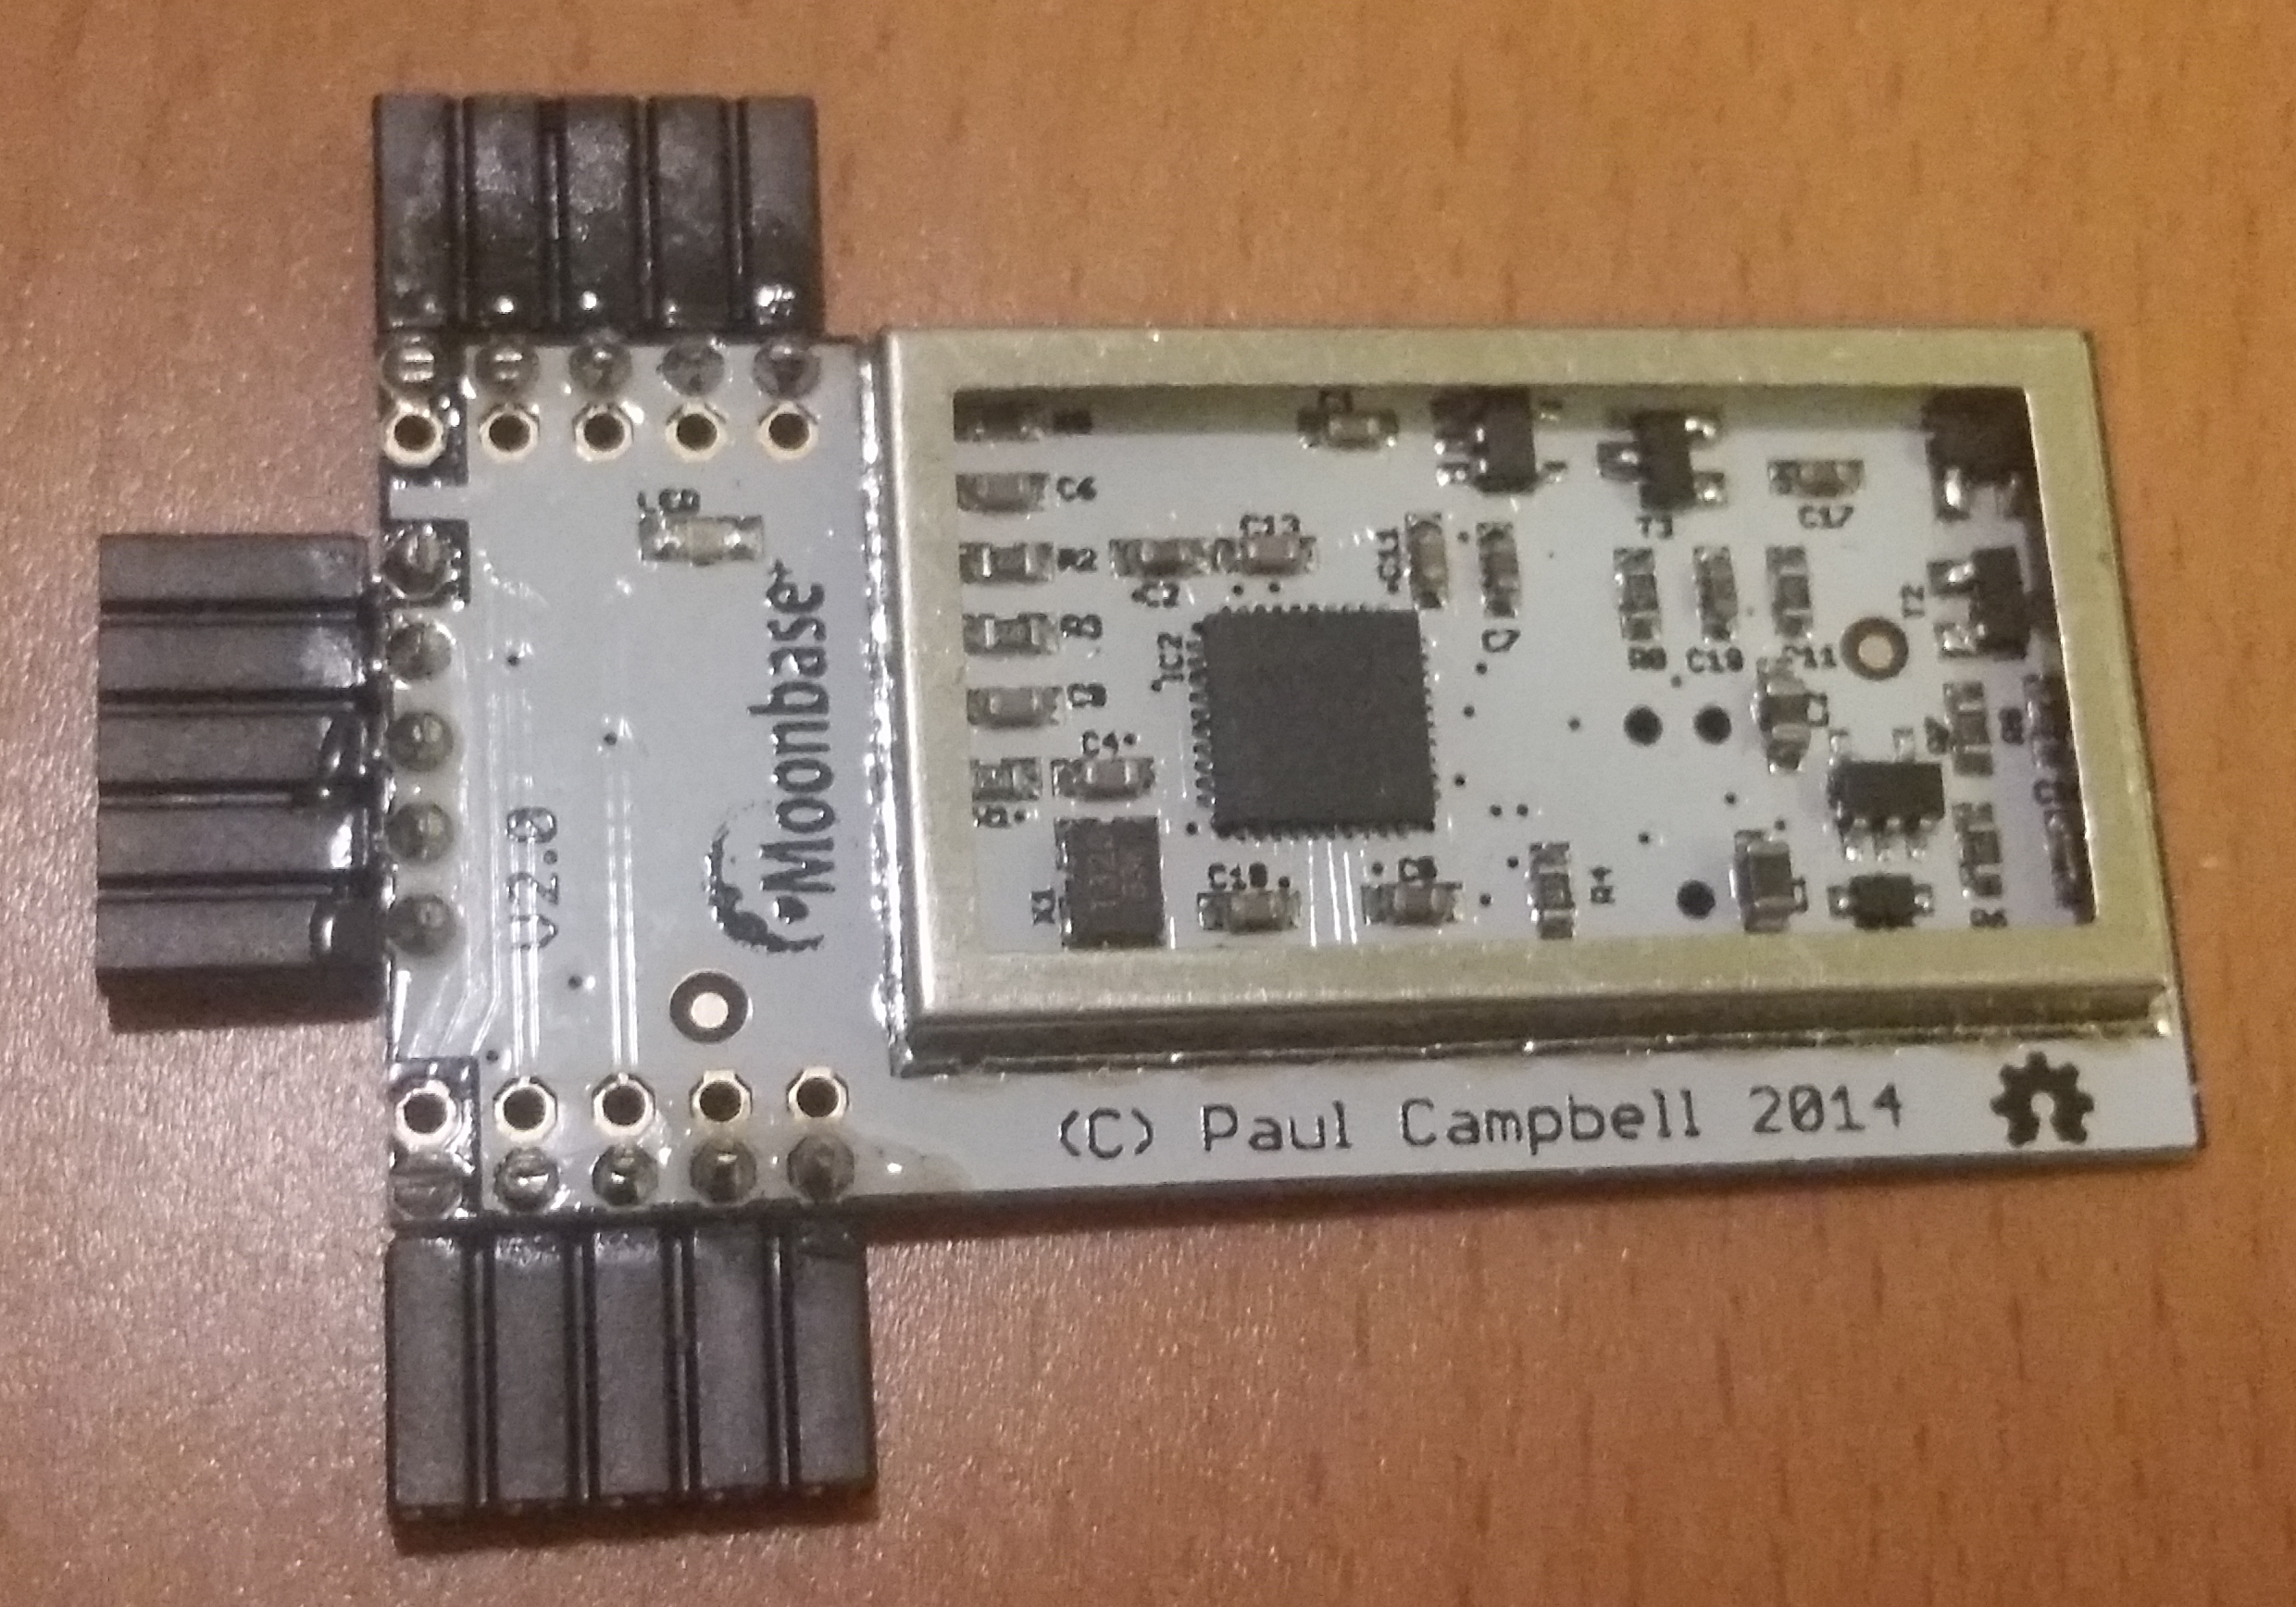
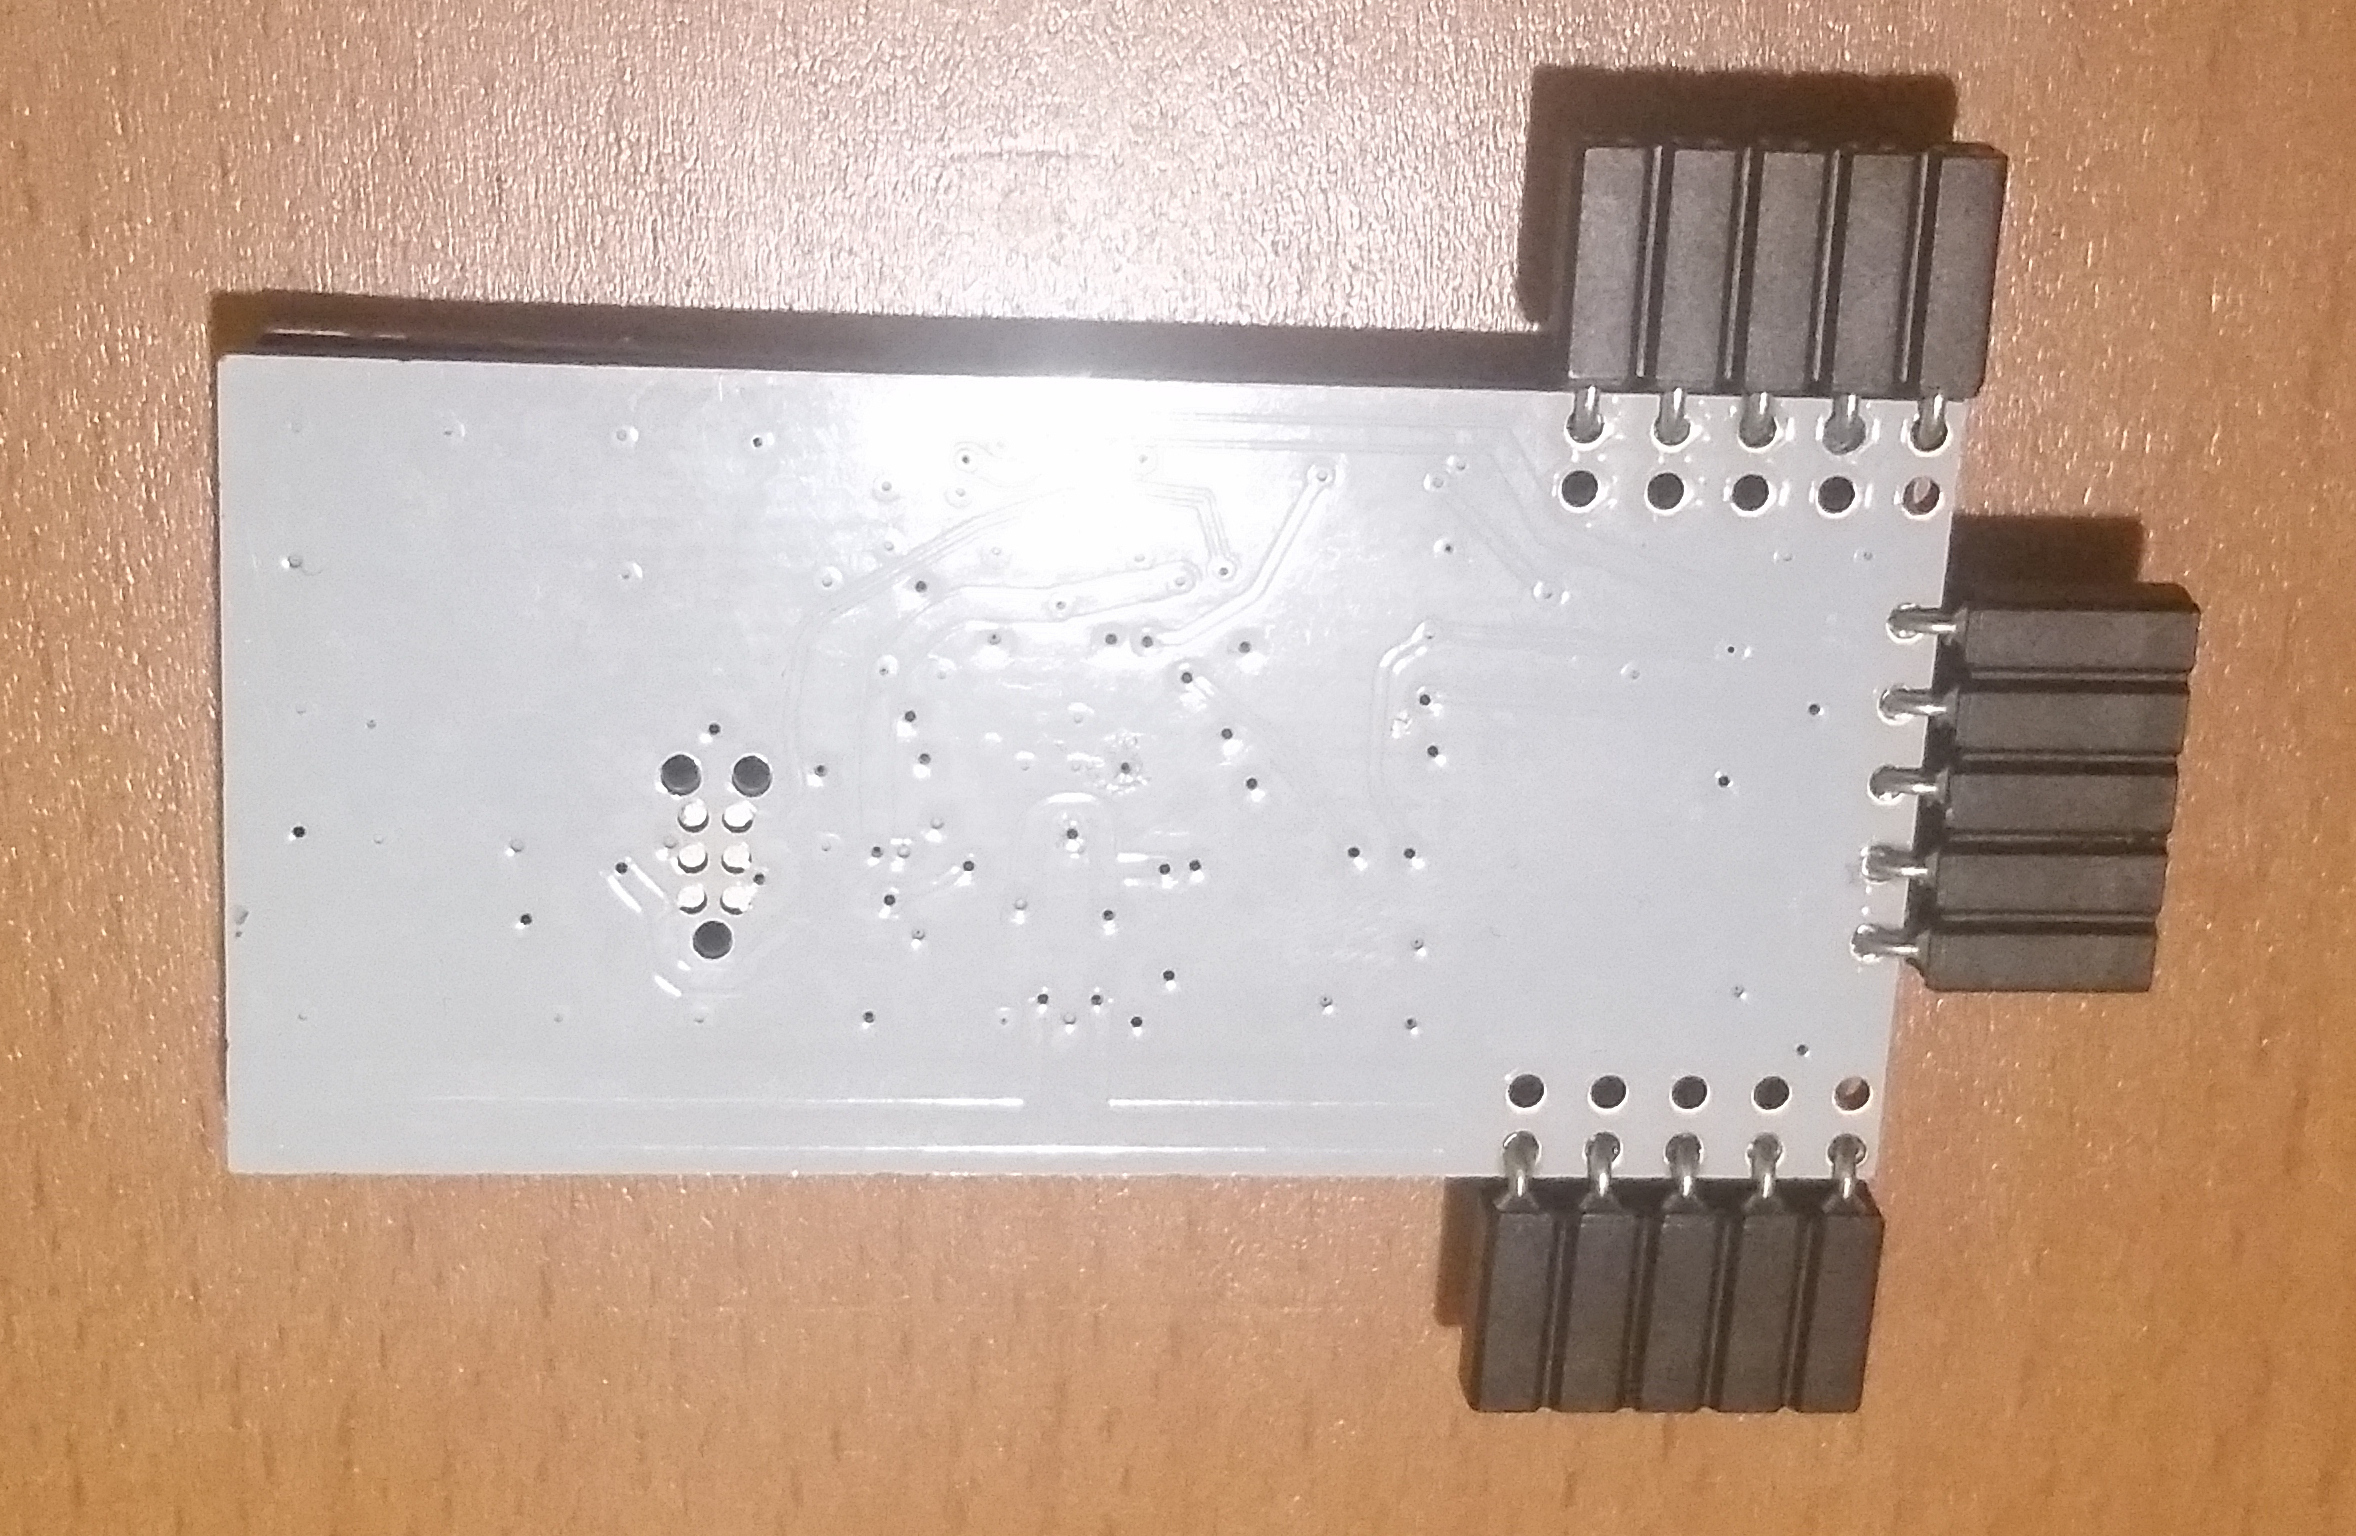
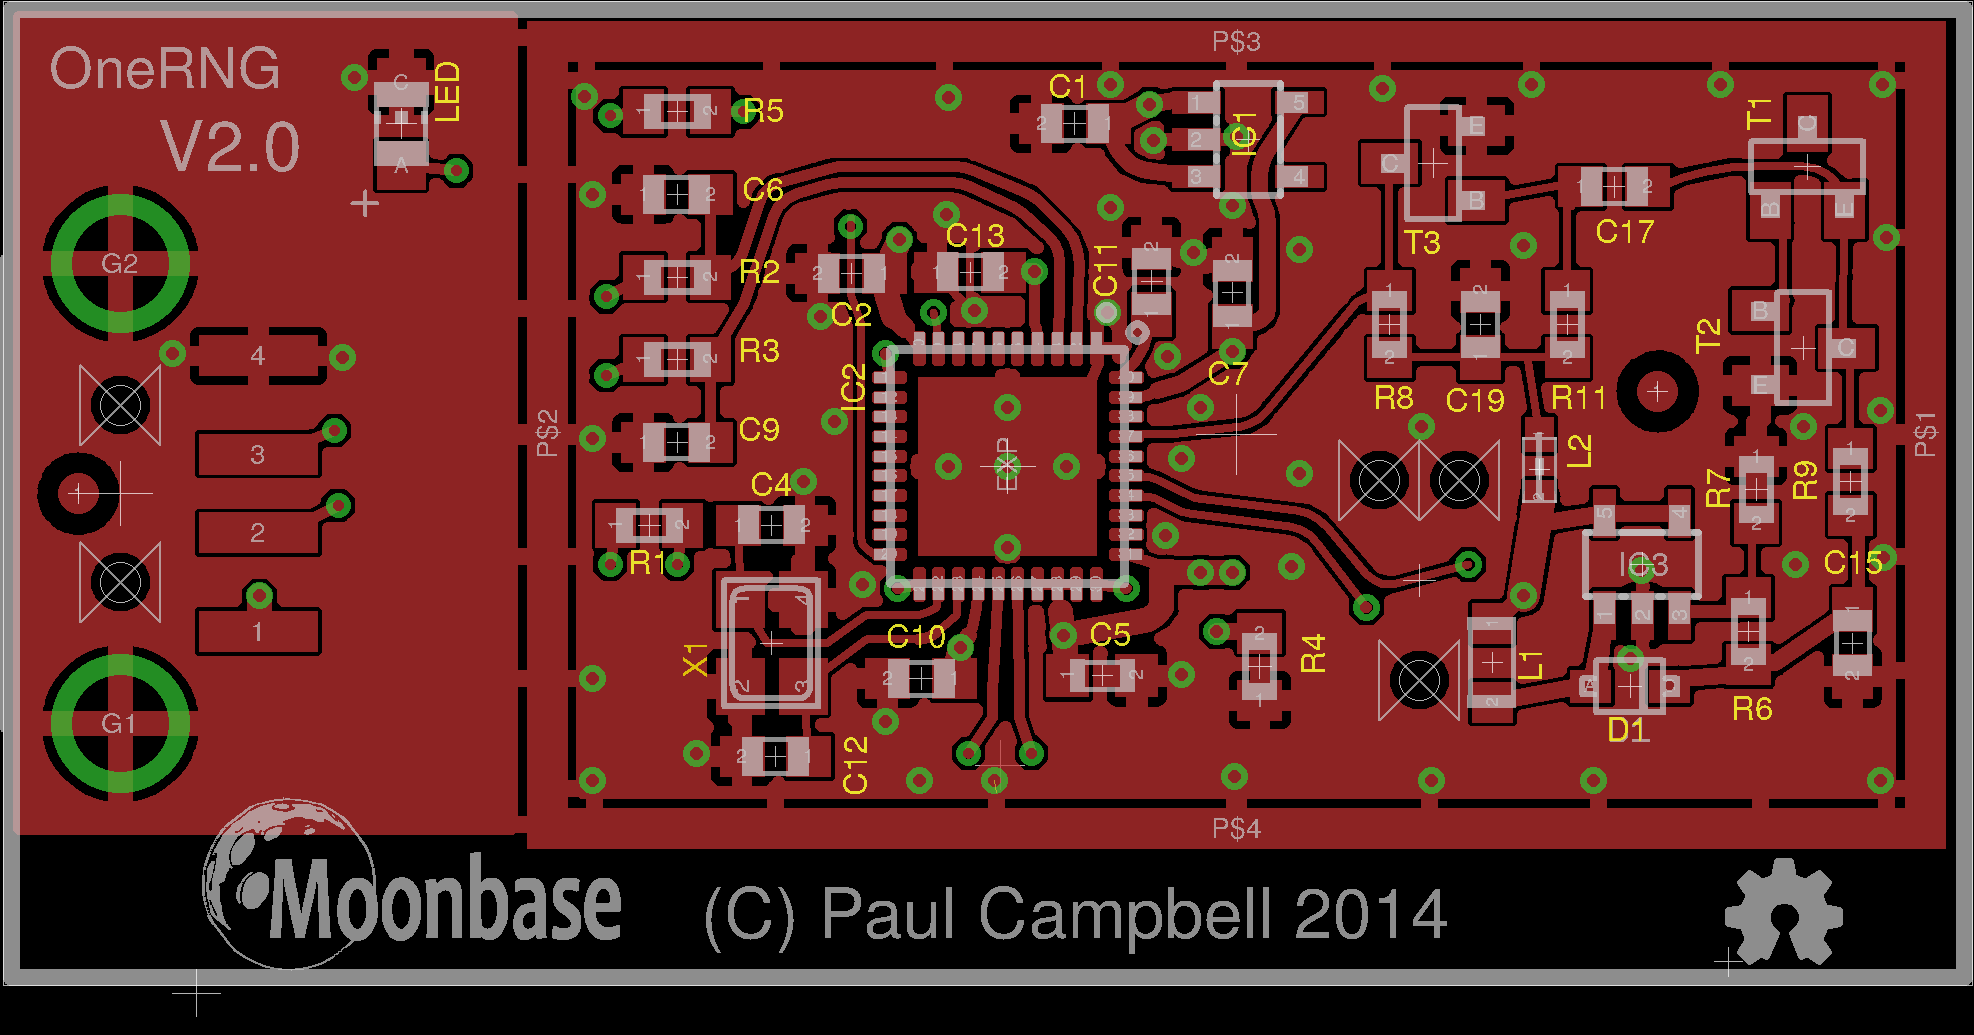
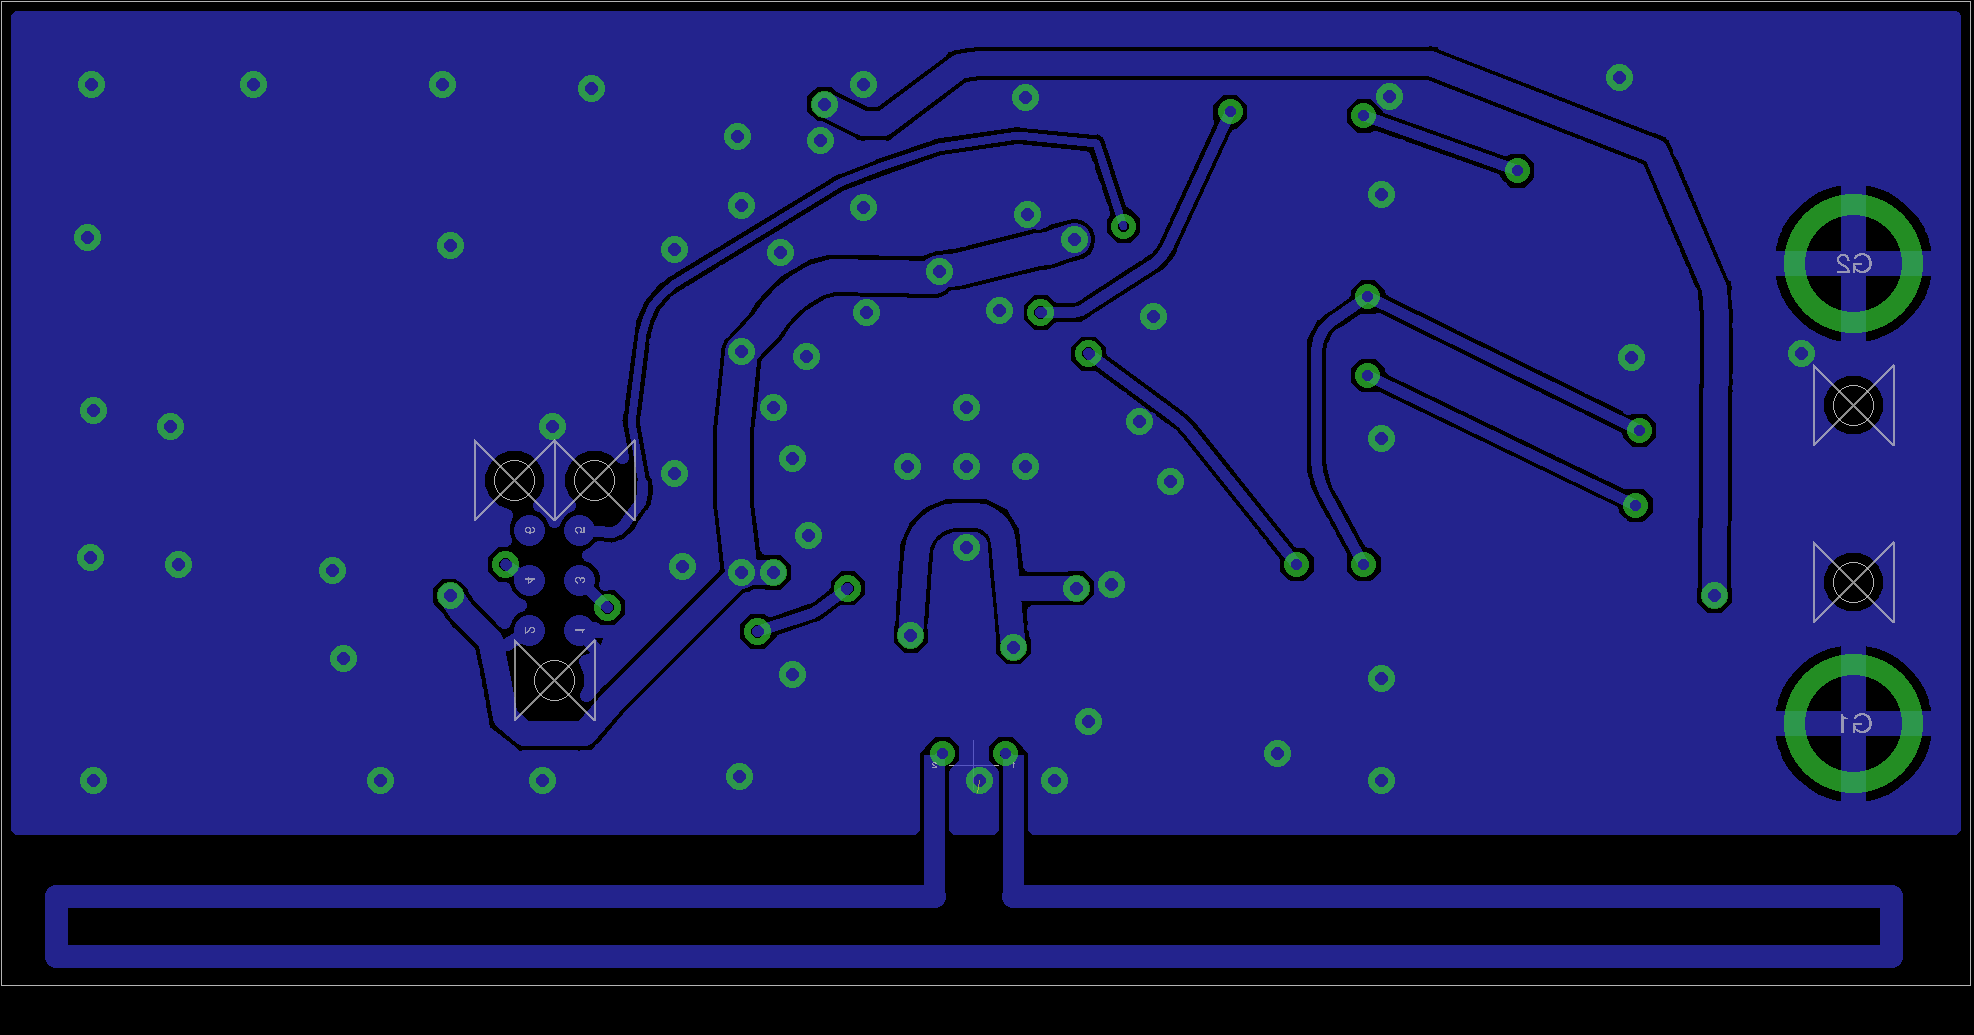
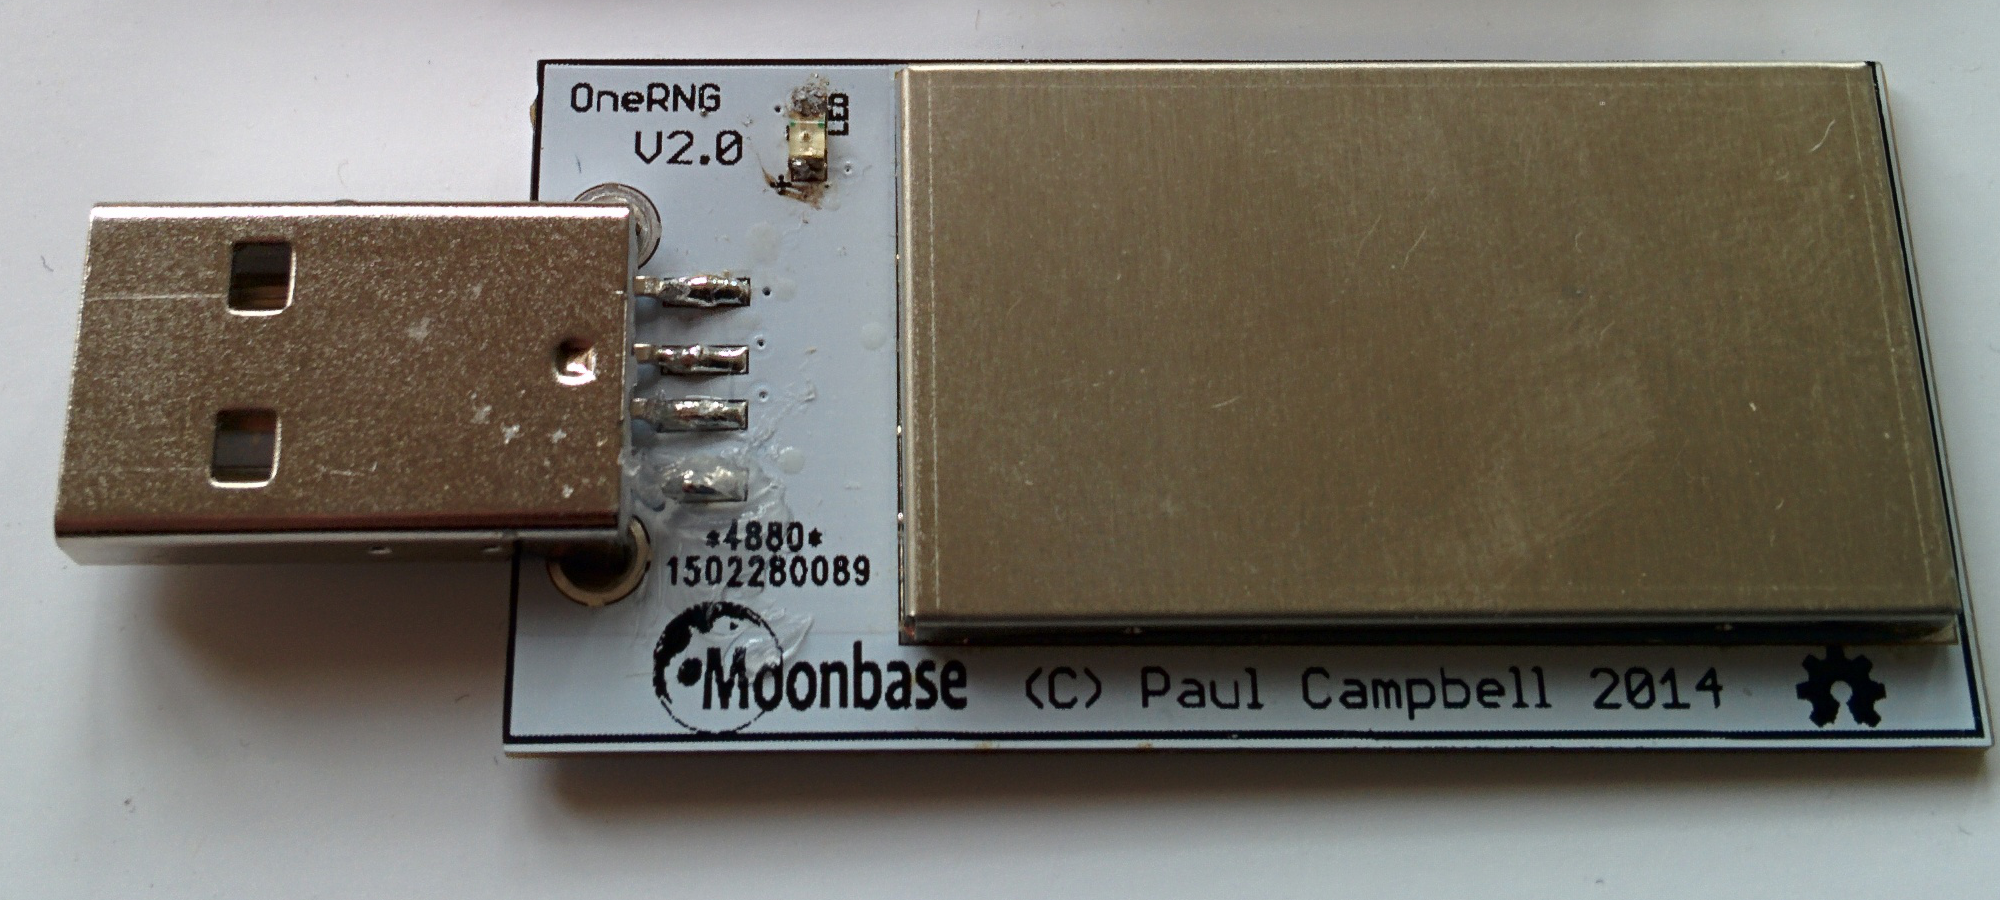
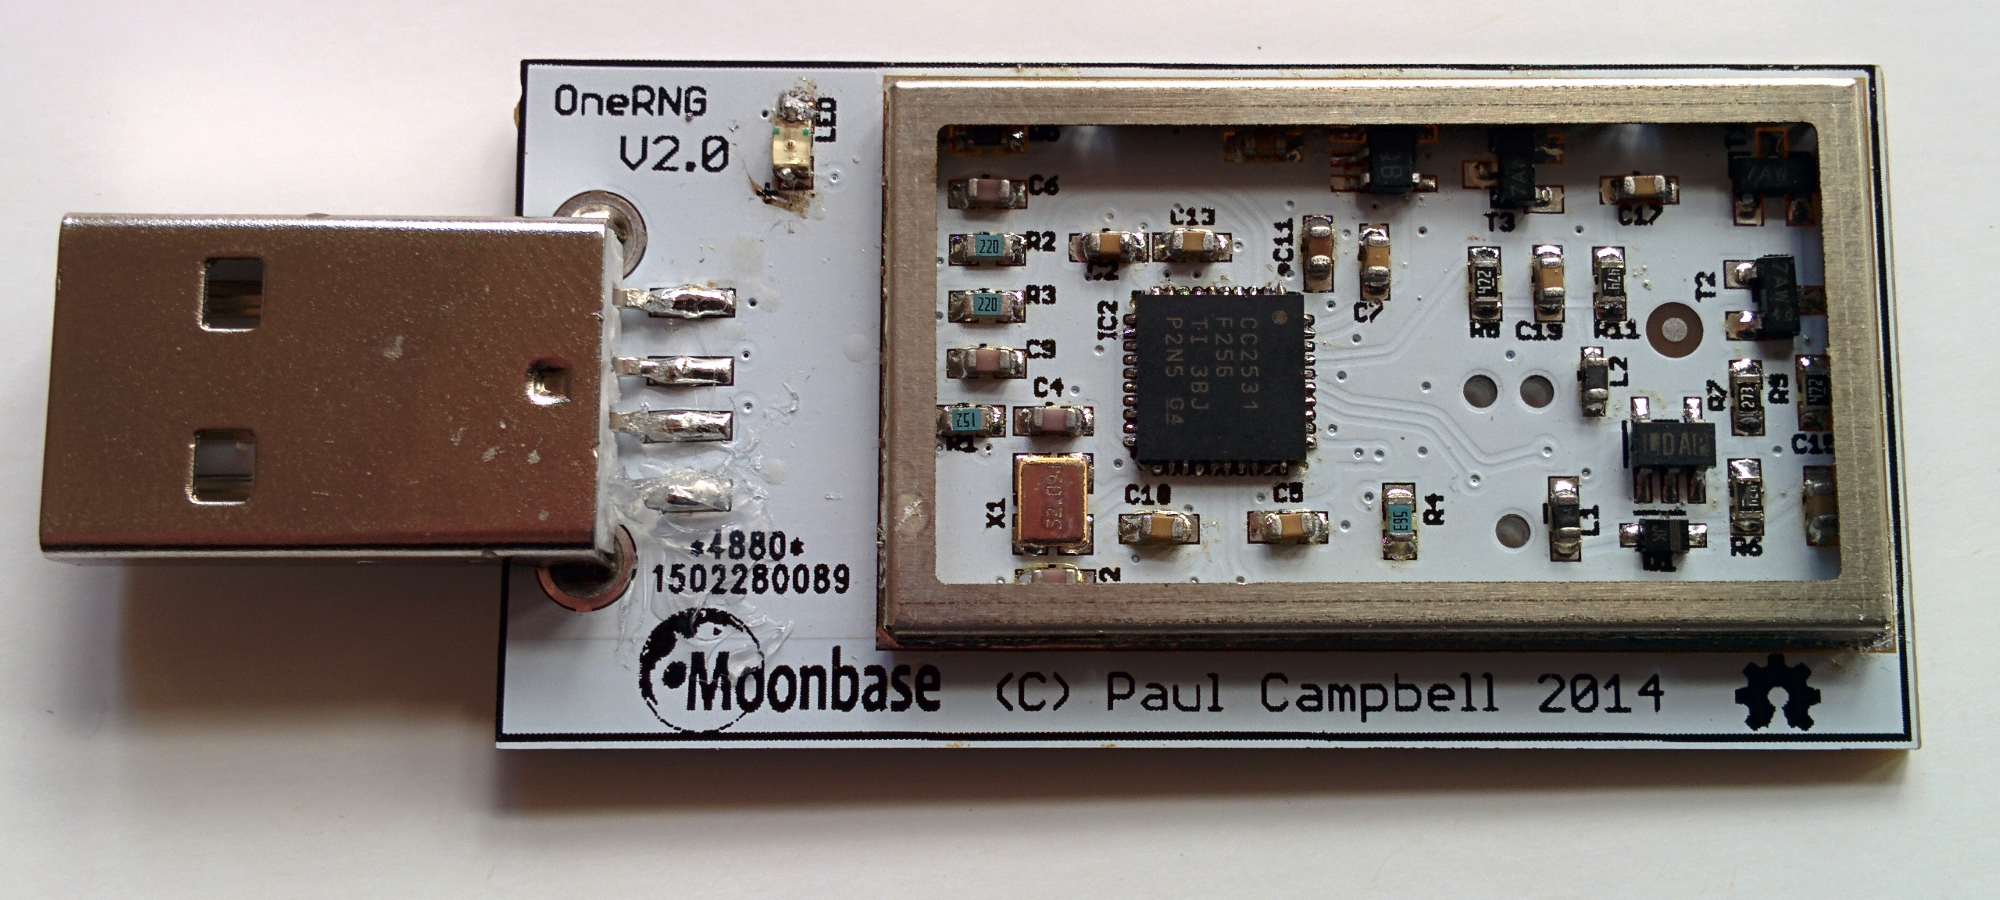
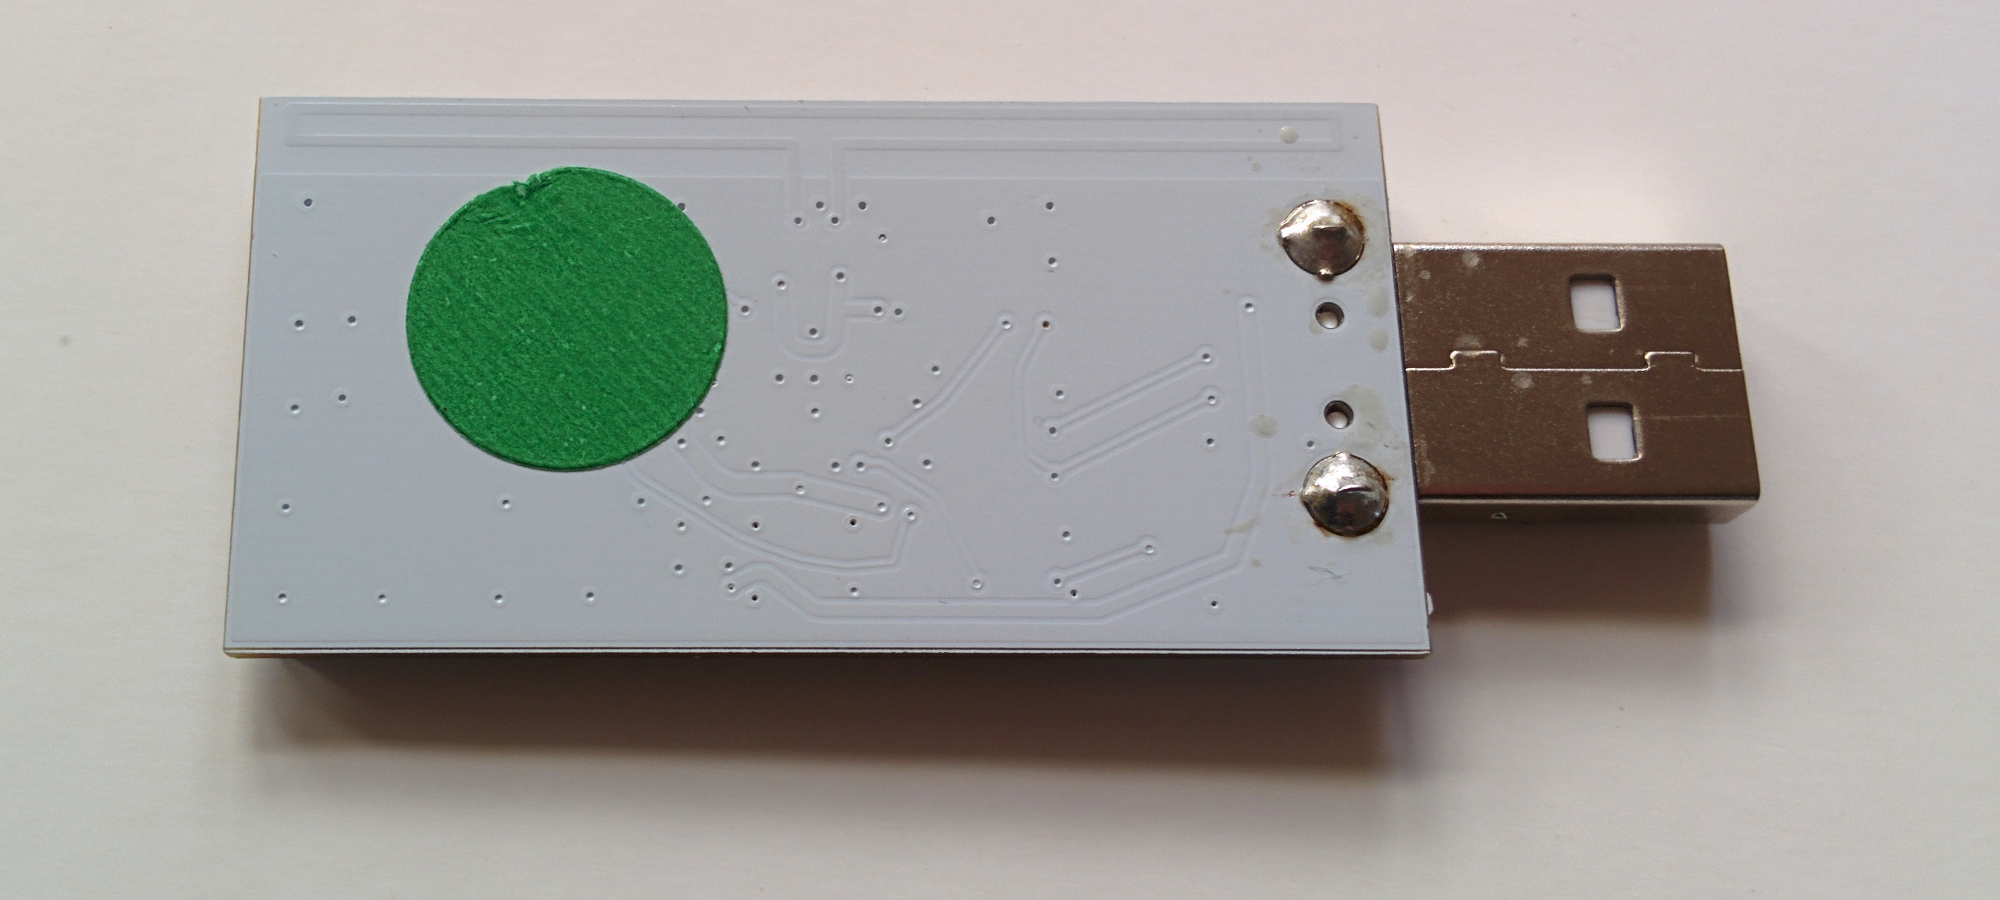
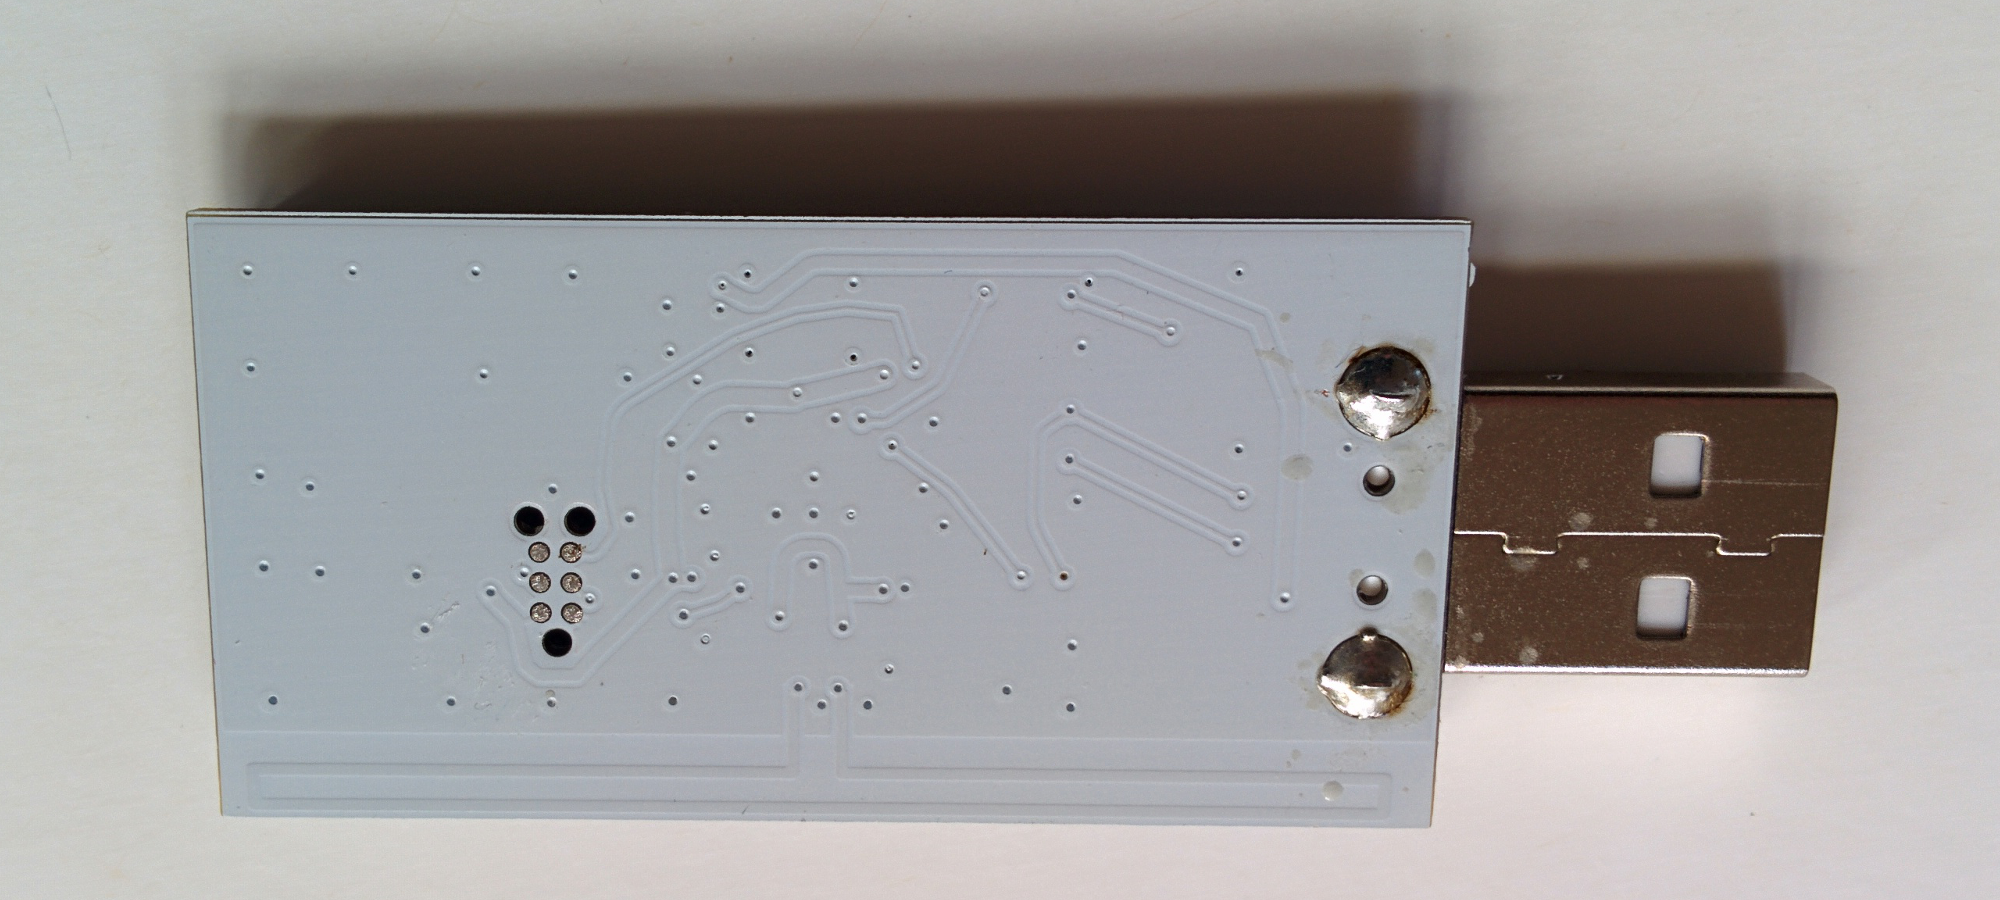
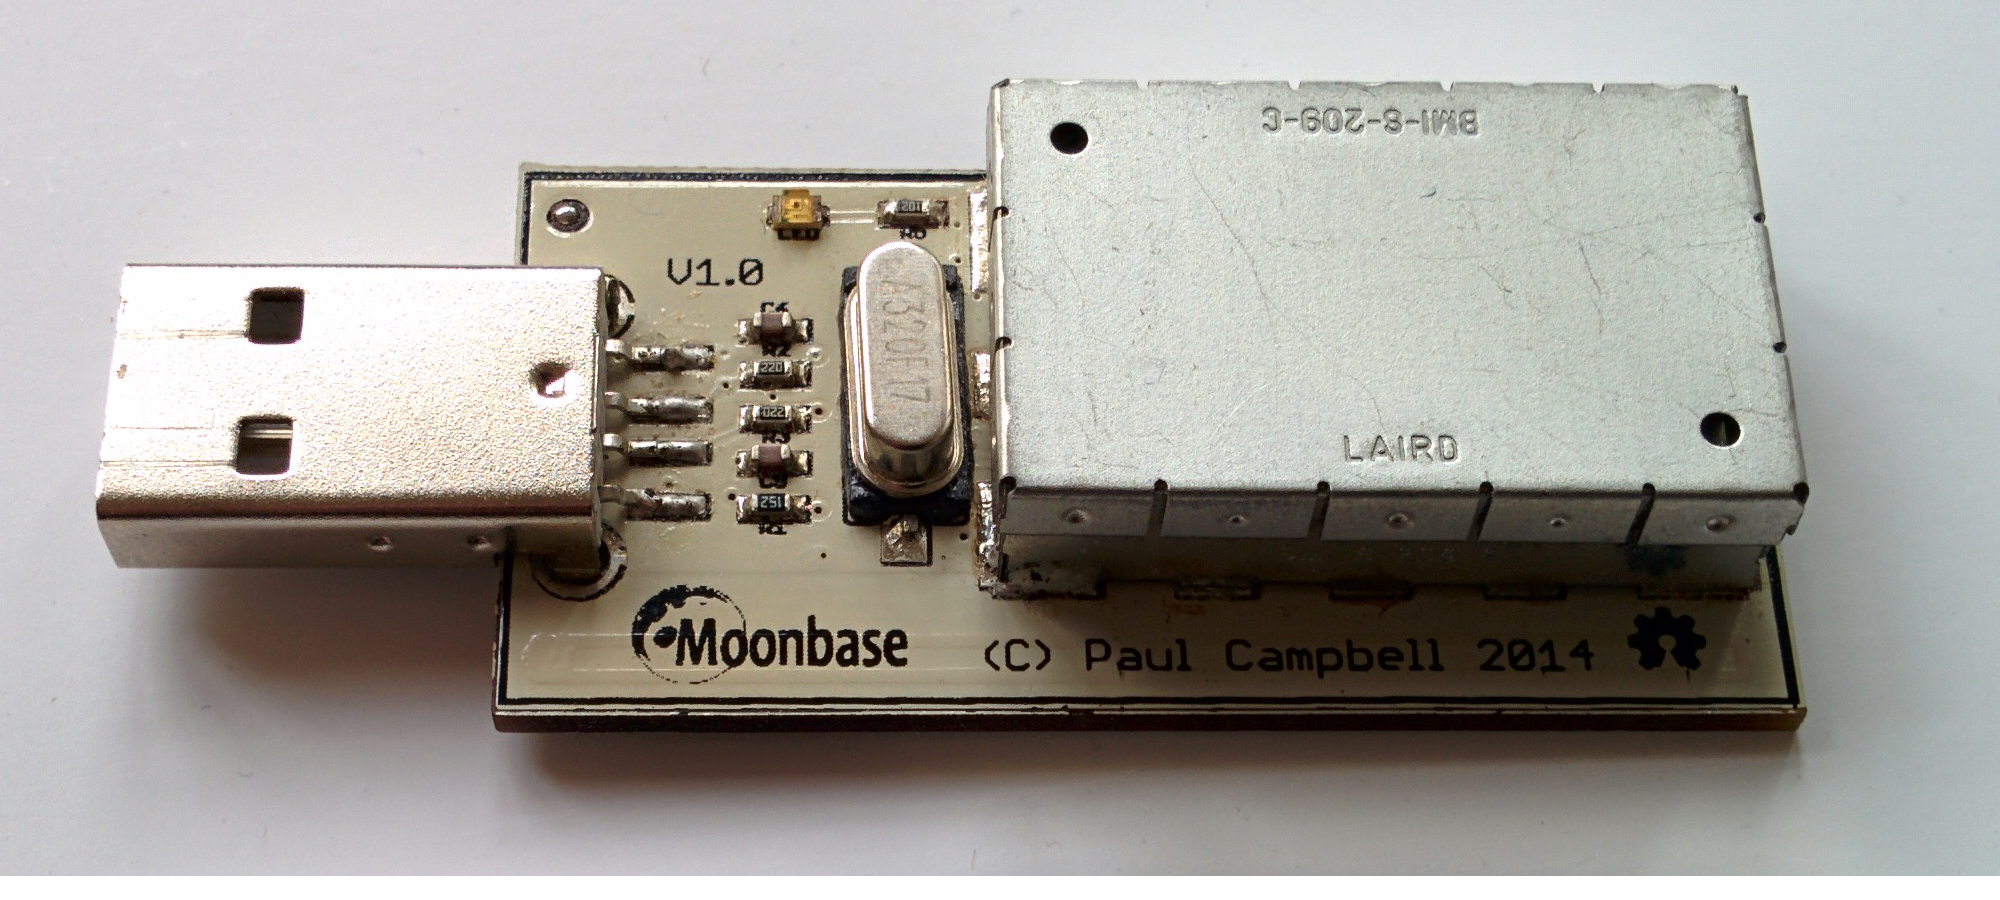
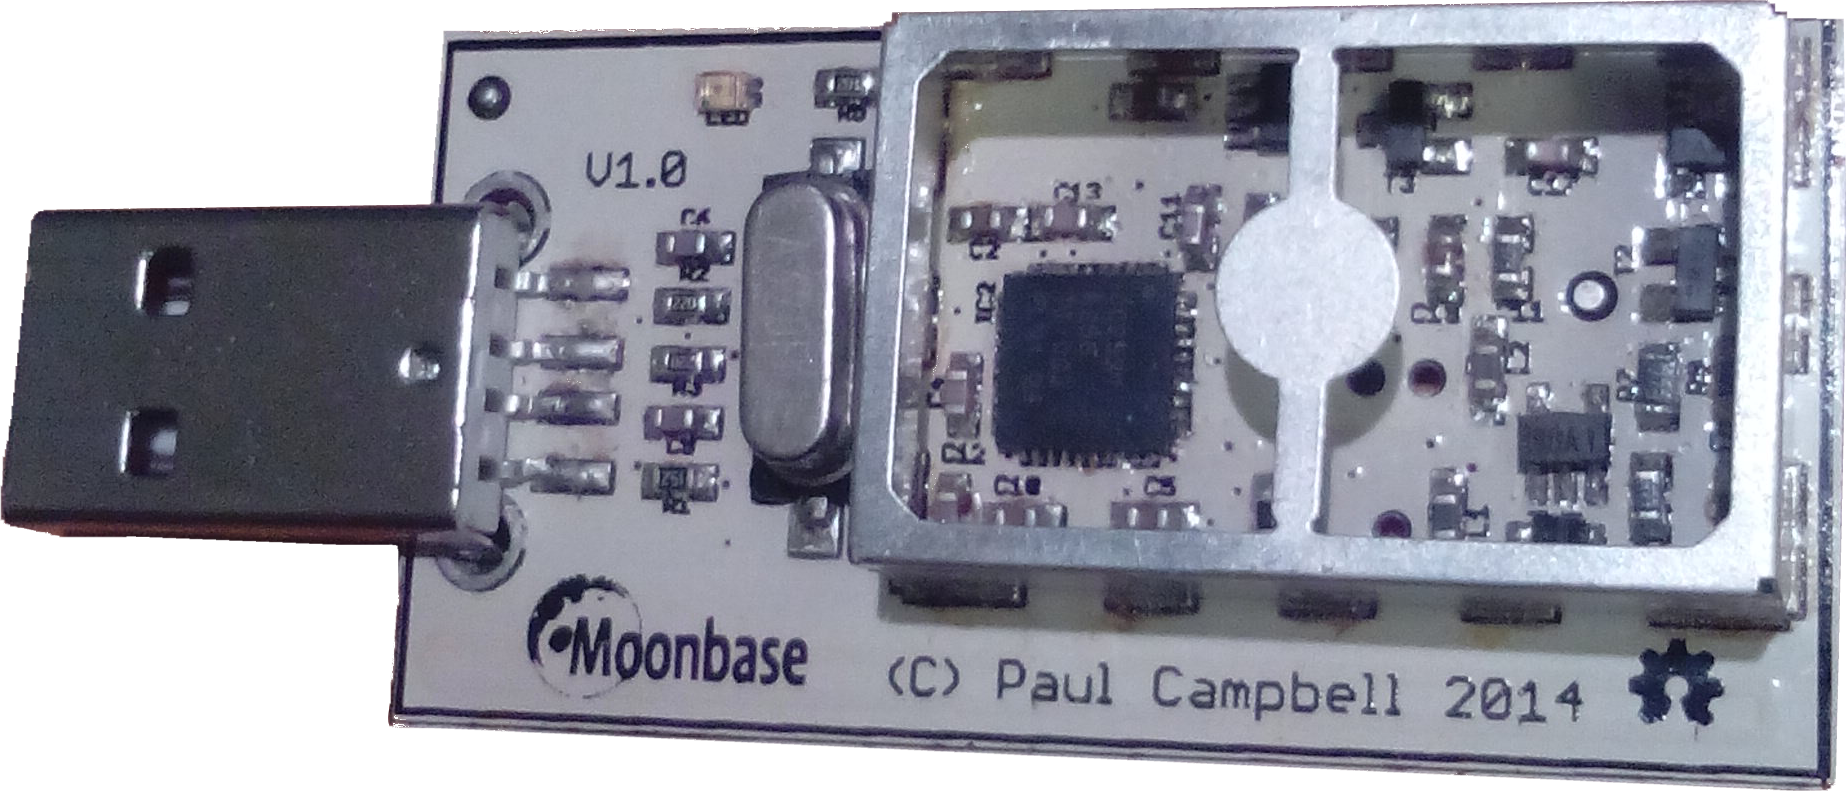
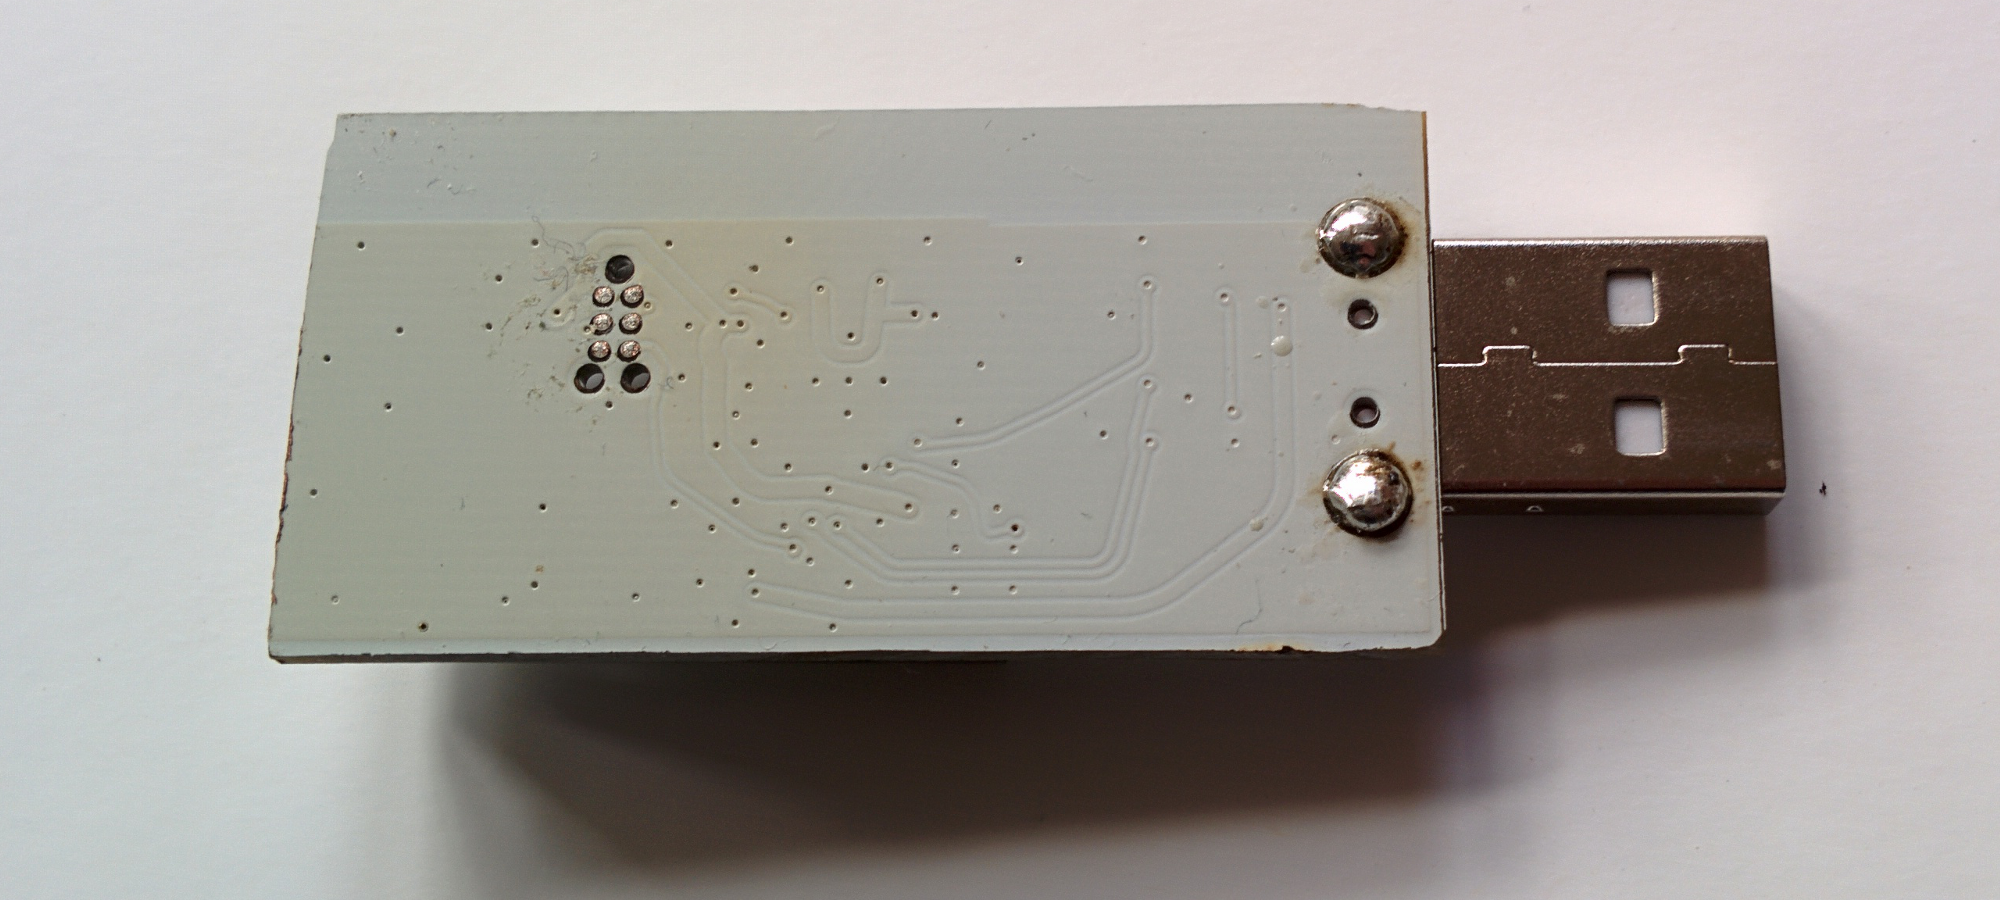
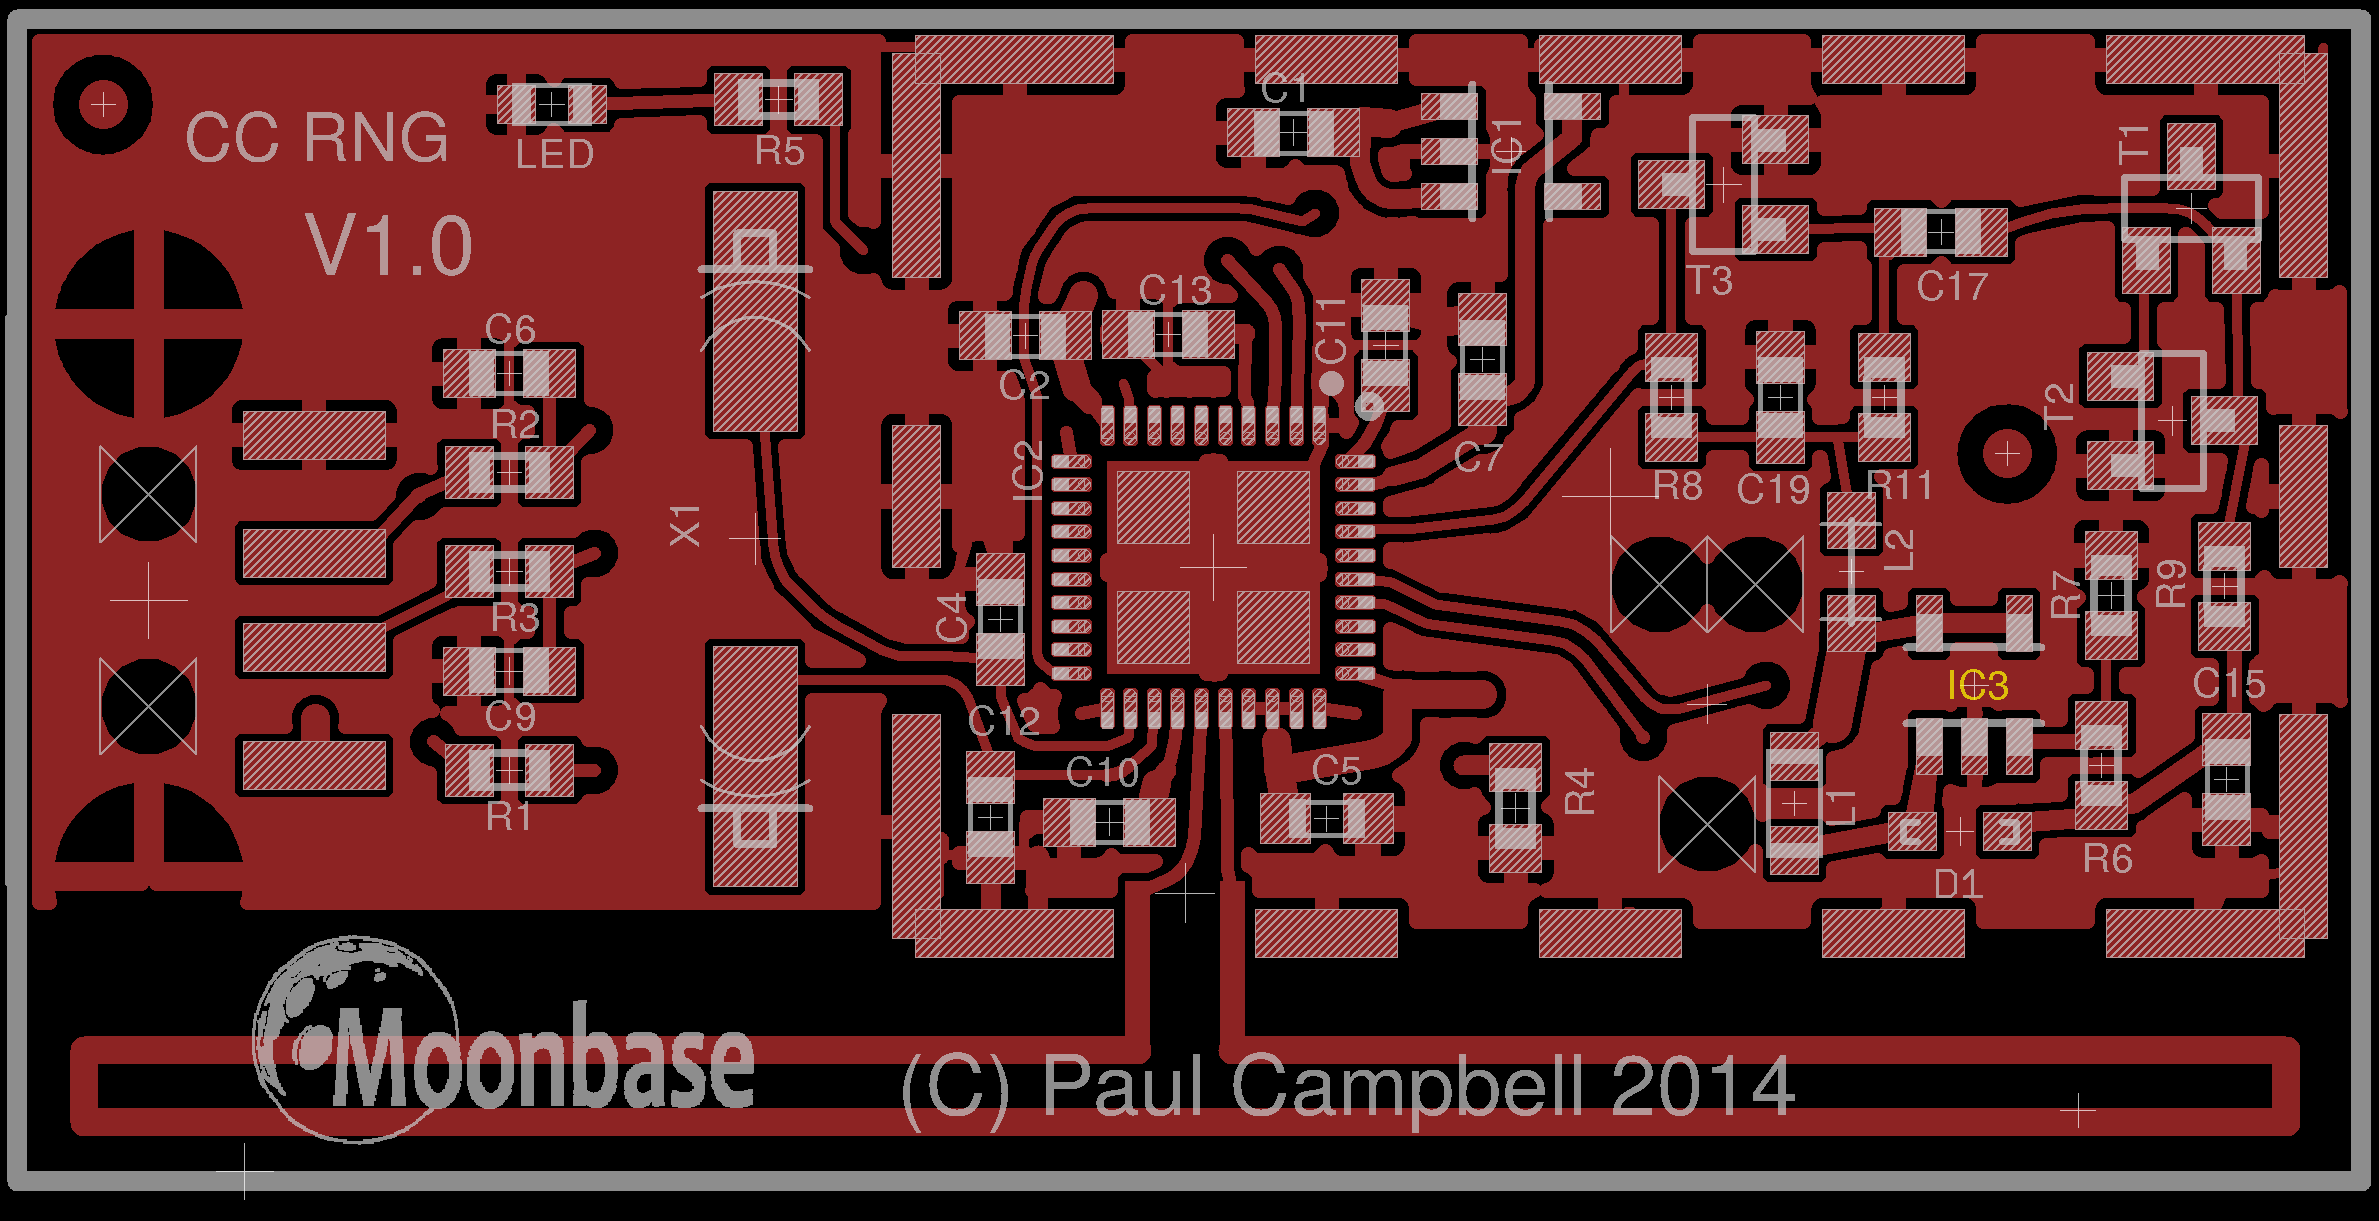
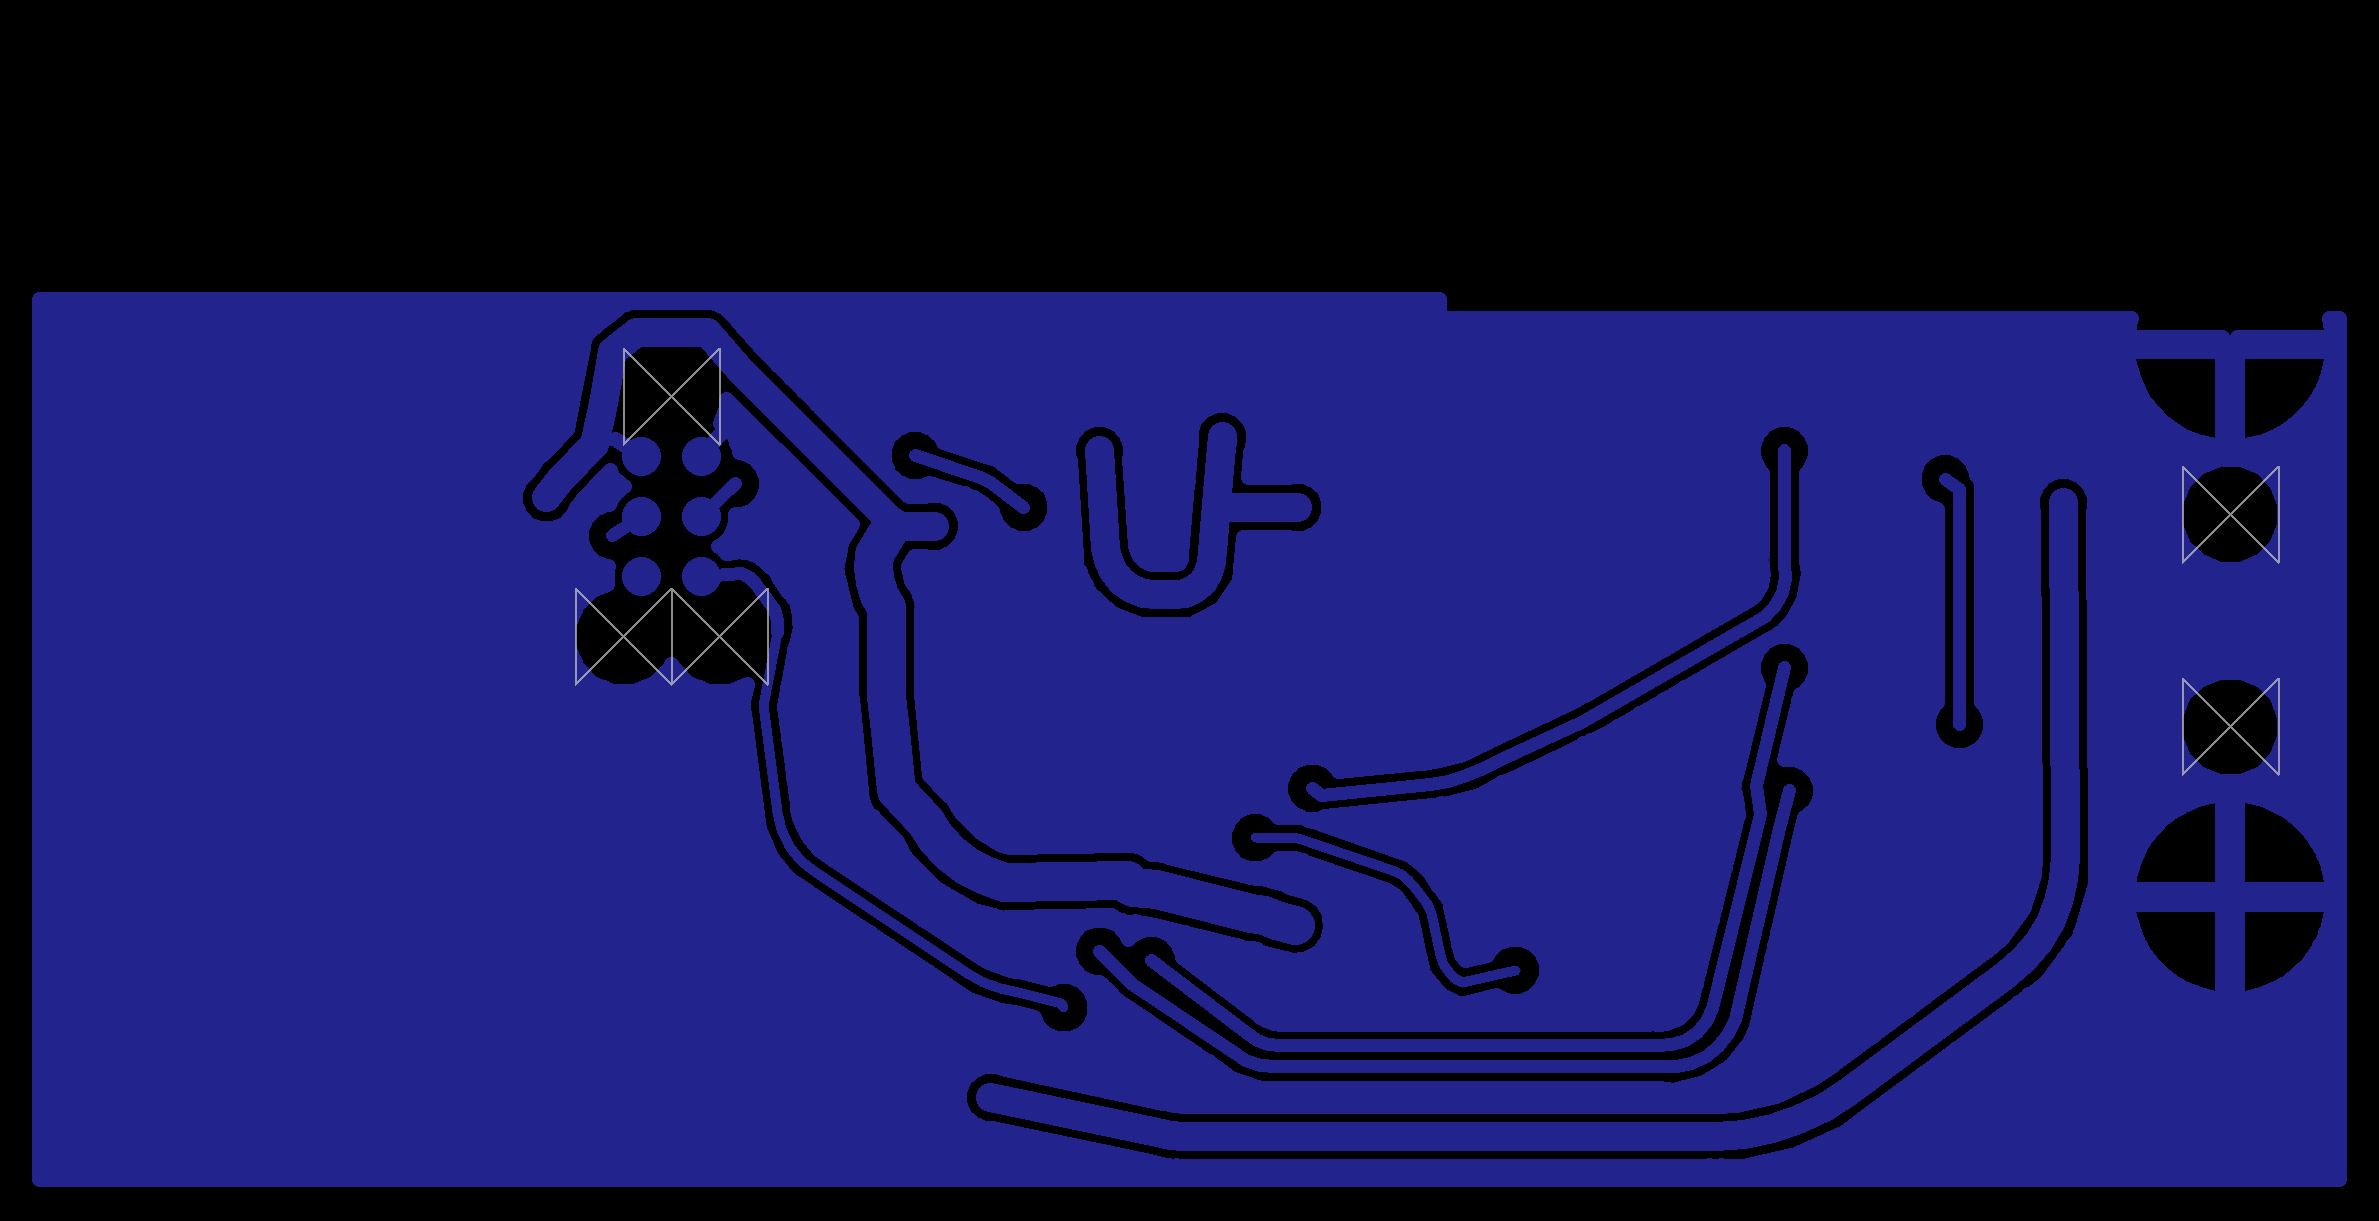
- Visually inspect the unit (removing the 'tin-foil hat'/shield) and compare to these images
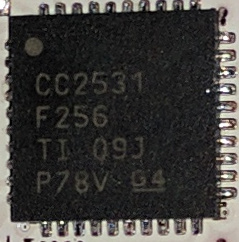
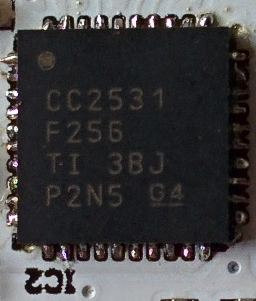
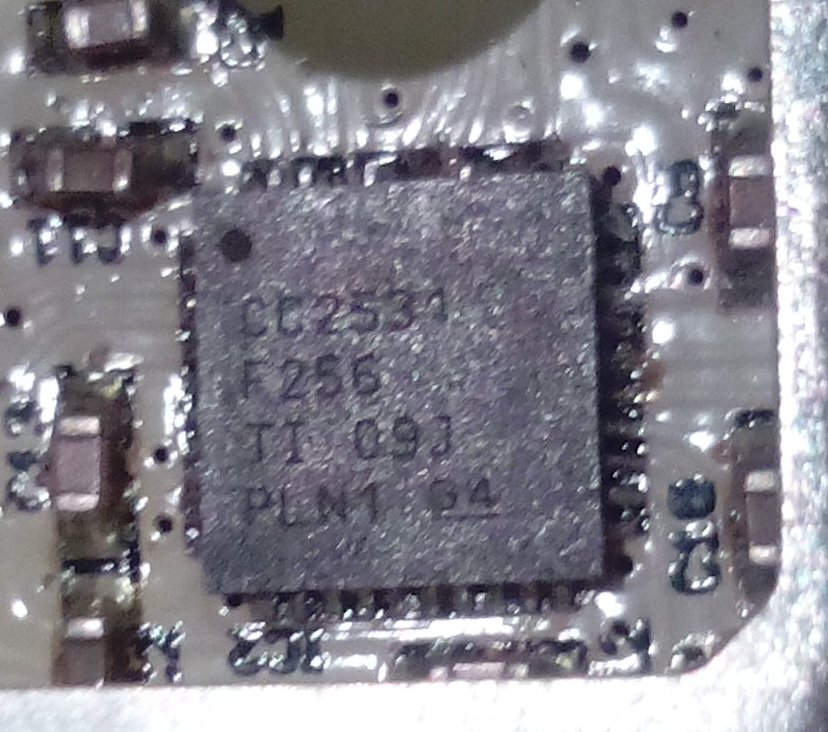
Note that there may be a sticker over the programming port of the boards (we don't guarantee the color, size of shape of the sticker!) - Check the labelling on the single complex component, the CC2531 chip. The first two lines are important; the product name and data size. The other two lines are manufacturing batch numbers, and we are not tracking those for verification purposes
- Compare the unit to the published circuit diagrams
Test the Hardware
Plug the OneRNG into a USB socket, and confirm that it powers up. For the V2 internal device, please consult these installation instructions on how to connect this device to your motherboard.Once connected, the LED light should come on and stay brightly lit, indicating that the entropy pool is populated and available.
It is possible that your computer will attempt to probe the OneRNG, mistaking it for a modem device (for example, if you have an old version of the Linux modem-manager package). If this happens you might see the LED flicker momentarily.
Remove the OneRNG from your system before proceeding to the Software steps.
We appreciate that these steps might be inconvenient for the V2.0 Internal hardware version, but strict verification is very important for all users of OneRNG.
Install the Host Software
Both the V1.0 and V2.0 units being shipped currently come with the V3.0 signed firmware. These are intended to be used with the V3.n Host Software. (Beta-test users have the V1.0 hardware, but unsigned V0.0, V1.0 or V2.0 firmware, and therefore have to be careful with their Host Software verification settings)
We provide an architecture-independent set of scripts to connect your OneRNG
to the rngd daemon present on most Linux distributions.
The pre-requisites for these scripts are small :
at, rng-tools, python3-gnupg and openssl.
Arch Linux users will need to install and enable atd to support the at
These scripts check the firmware every time they start communicating with OneRNG, and will refuse to use the unit if the signature checks fail.
Note: if rng-tools fails to install you can ignore that error
Debian package
- Install prerequisites:
sudo apt-get install rng-tools at python3-gnupg openssl
- Download the package (via HTTPS from GitHub): onerng_3.7-1_all.deb (11K)
- Verify the package checksum
SHA256: b7cda2fe07dce219a95dfeabeb5ee0f662f64ba1474f6b9dddacc3e8734d8f57
   MD5: f33216262757e317e4843e0c6896ce8a
- Install:
sudo dpkg -i onerng_3.7-1_all.deb
- Uninstall:
sudo dpkg -r onerng
RedHat package
- Install prerequisites:
sudo yum install rng-tools at python3-gnupg
- Download the package (via HTTPS from GitHub): onerng-3.7-1.fc33.noarch.rpm (15K)
- Verify the package checksum
SHA256: 00a793e7f73c060682fee6ae98fe13db629fce4eaa465637b7bfab35f136e770
   MD5: f499b3bca5799dd385252507c382bc58
- Install:
sudo rpm -i onerng-3.7-1.fc33.noarch.rpm
- Uninstall:
sudo rpm -e onerng
Tarball
- Install prerequisites
- Download the package (via HTTPS from GitHub): onerng_3.7.orig.tar.gz (130K)
- Verify the package checksum
SHA256: cf53c56fca9eed7f3c93db4ad949ccebc629725b52fbedc4b10761d0c7fe9d3c
   MD5: 7abe6589491788b881e82528f5c80a20
- Install:
tar xzf onerng_3.7.orig.tar.gz
cd onerng_1
sudo make install
sudo udevadmin control --reload-rules
- Uninstall:
sudo rm /usr/lib/udev/rules.d/79-onerng.rules /sbin/onerng.sh
Test OneRNG Operation
Release 3.7 and later instructions
Release 3.7 is a maintenance release, if your OneRNG is working well for you there is no reason to upgrade the software. There are two main changes, both in response to changes in modern linux systems:
- We now use python3 for verifying the cryptographic signature of the device's firmware
- The linux kernel has changed the way that it supports RNG devices - it no longer correctly supports the entropy driven API for providing data to the kernel entropy pool - we have changed the OneRNG daemon script to periodicaly feed the kernel with new entropy, you can change this rate by editing the OneRNG config file /etc/onerng.conf, then removing the OneRNG and plugging it back in again
Starting with version 3.7 you can verify that your OneRNG is working correctly by noting that the orange LED blinks every second or so.
Release 3.6 and earlier instructions
Once the Host Software has been installed, insert your OneRNG. Test the correct operation of the hardware
and software combined by demanding large quantities of data from /dev/random.
cat /dev/random >/dev/null
If OneRNG is working correctly, you should see the LED light dim as the onboard entropy pool is rapidly depleted.
When you interrupt the cat command (by pressing control-C) the LED should return to normal brightness.
